Creating a New Account
This guide provides step-by-step instructions for creating a new account on the Atenxion Platform. Follow these procedures to establish your account and gain access to the platform's features.
Prerequisites
Before creating an account, ensure that you have:
- A valid email address that you have access to
- A strong password that meets the platform's security requirements
- An internet-connected device with a modern web browser
Step-by-Step Account Creation Process
Step 1: Initiate Account Creation
If you do not already have an account, navigate to the registration page:
- On the login page, locate and click the Create account link
- This will redirect you to the account registration form
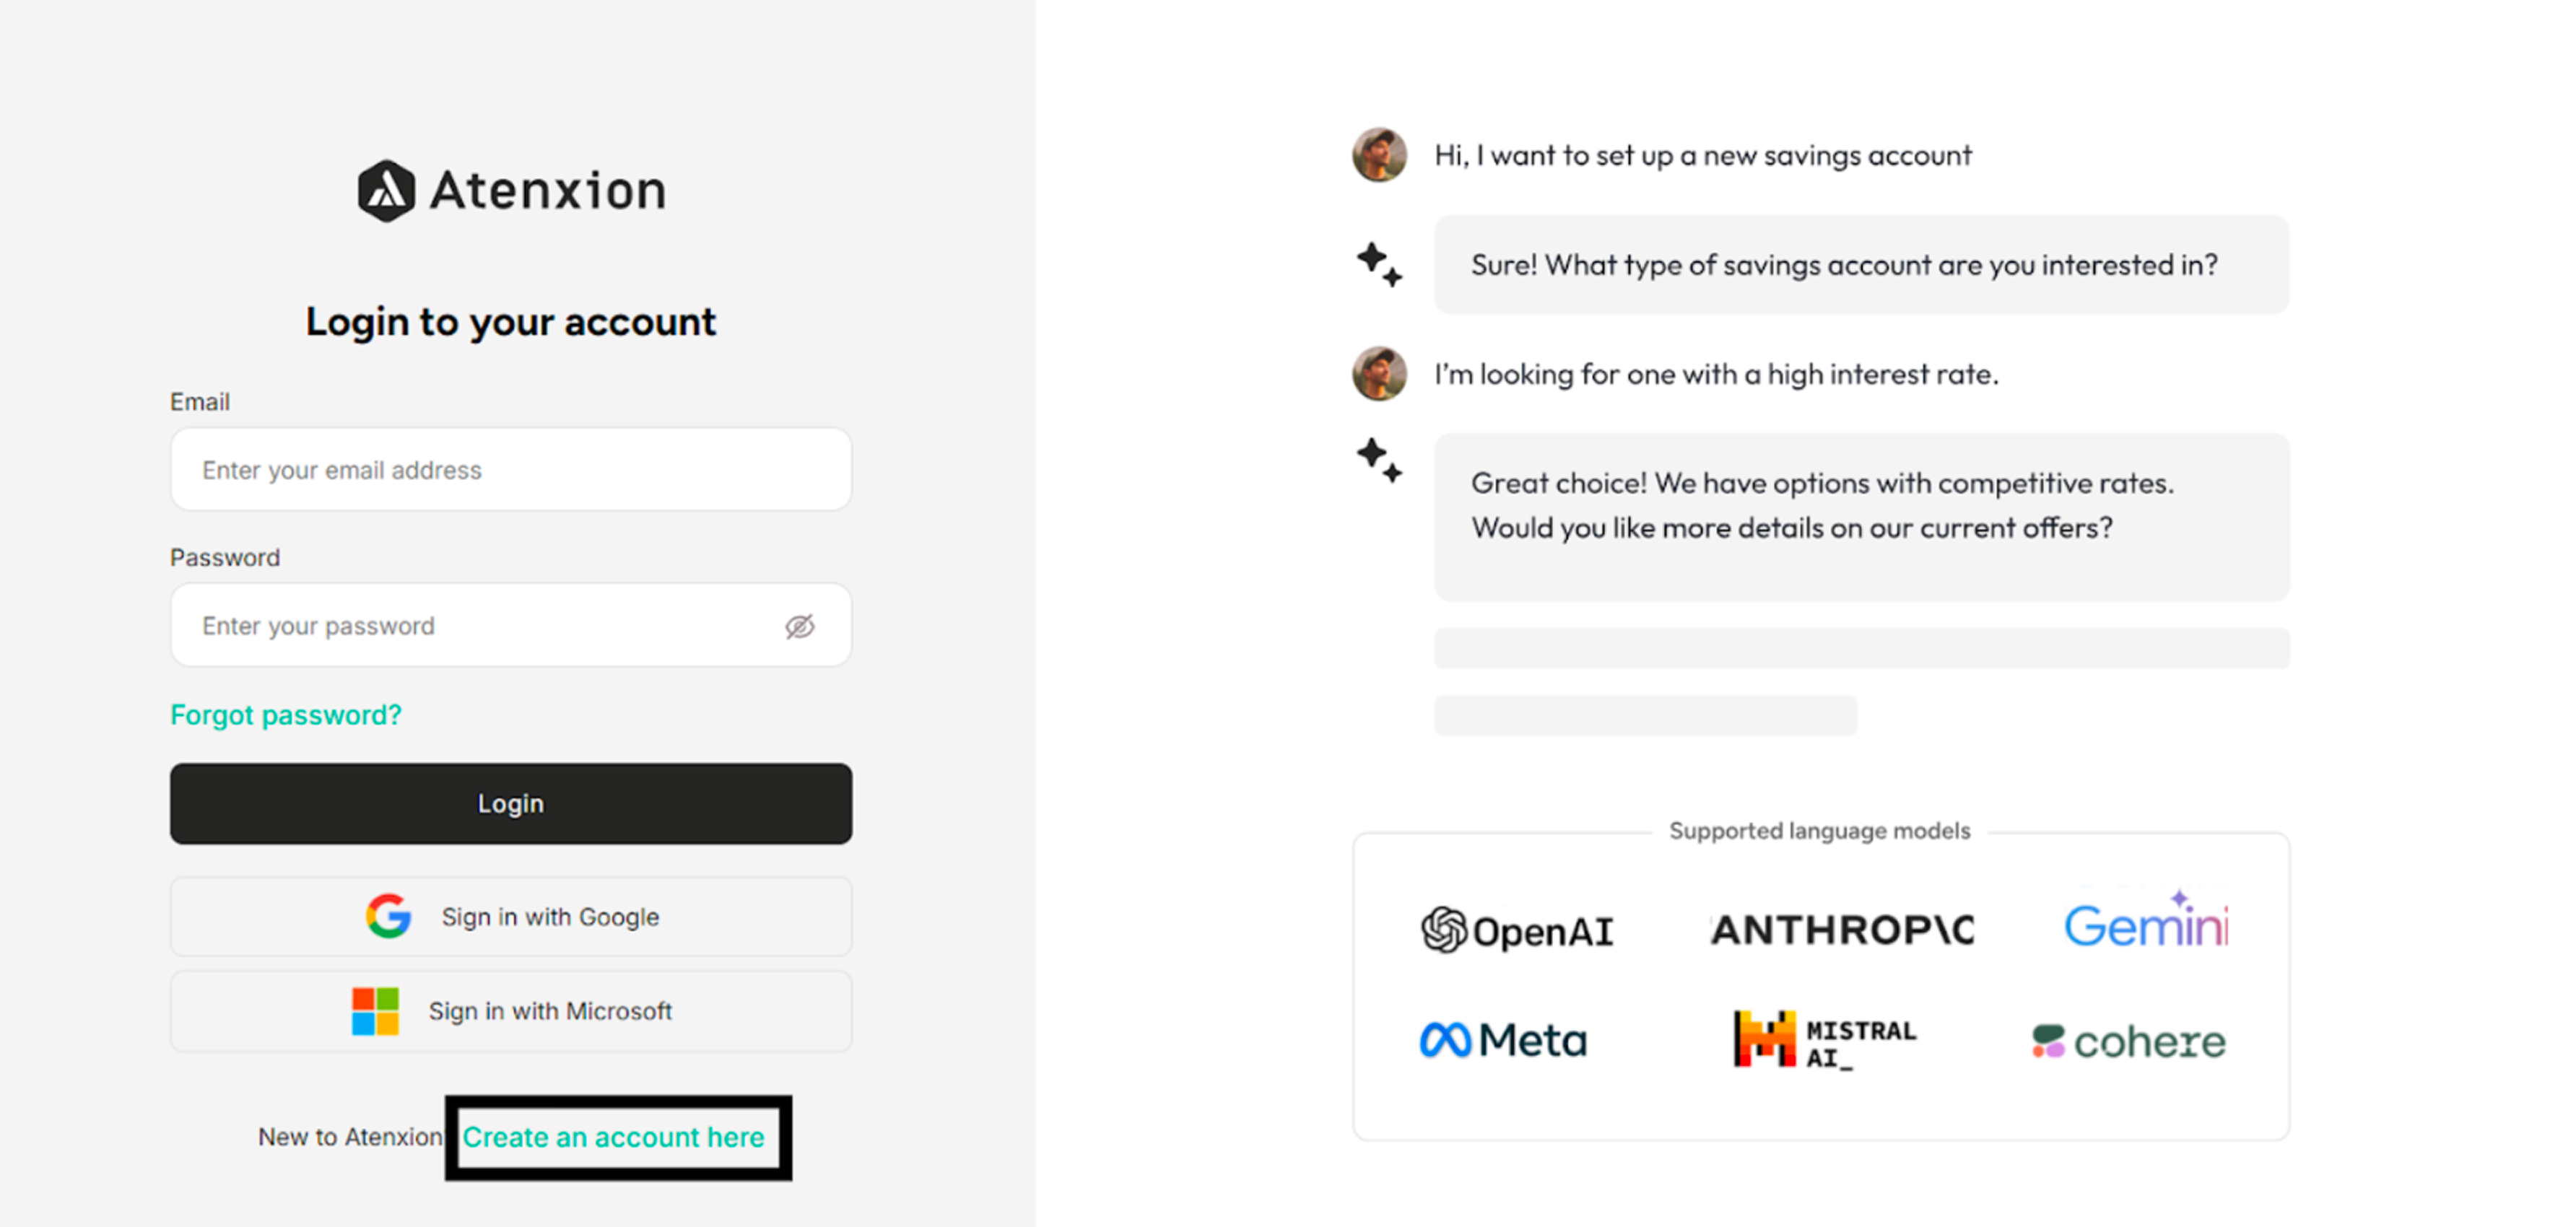 Figure: Login Page Highlighting Create an account here.
Step 2: Provide Account Information
Complete the registration form with accurate information:
- Enter your full name in the Name field
- Provide a valid email address in the Email field
- Create a secure password in the Password field that meets the following criteria:
- Minimum of 8 characters
- Combination of uppercase and lowercase letters
- At least one numeric digit
- At least one special character
- Review and accept the terms and conditions
- Click the Create Account button
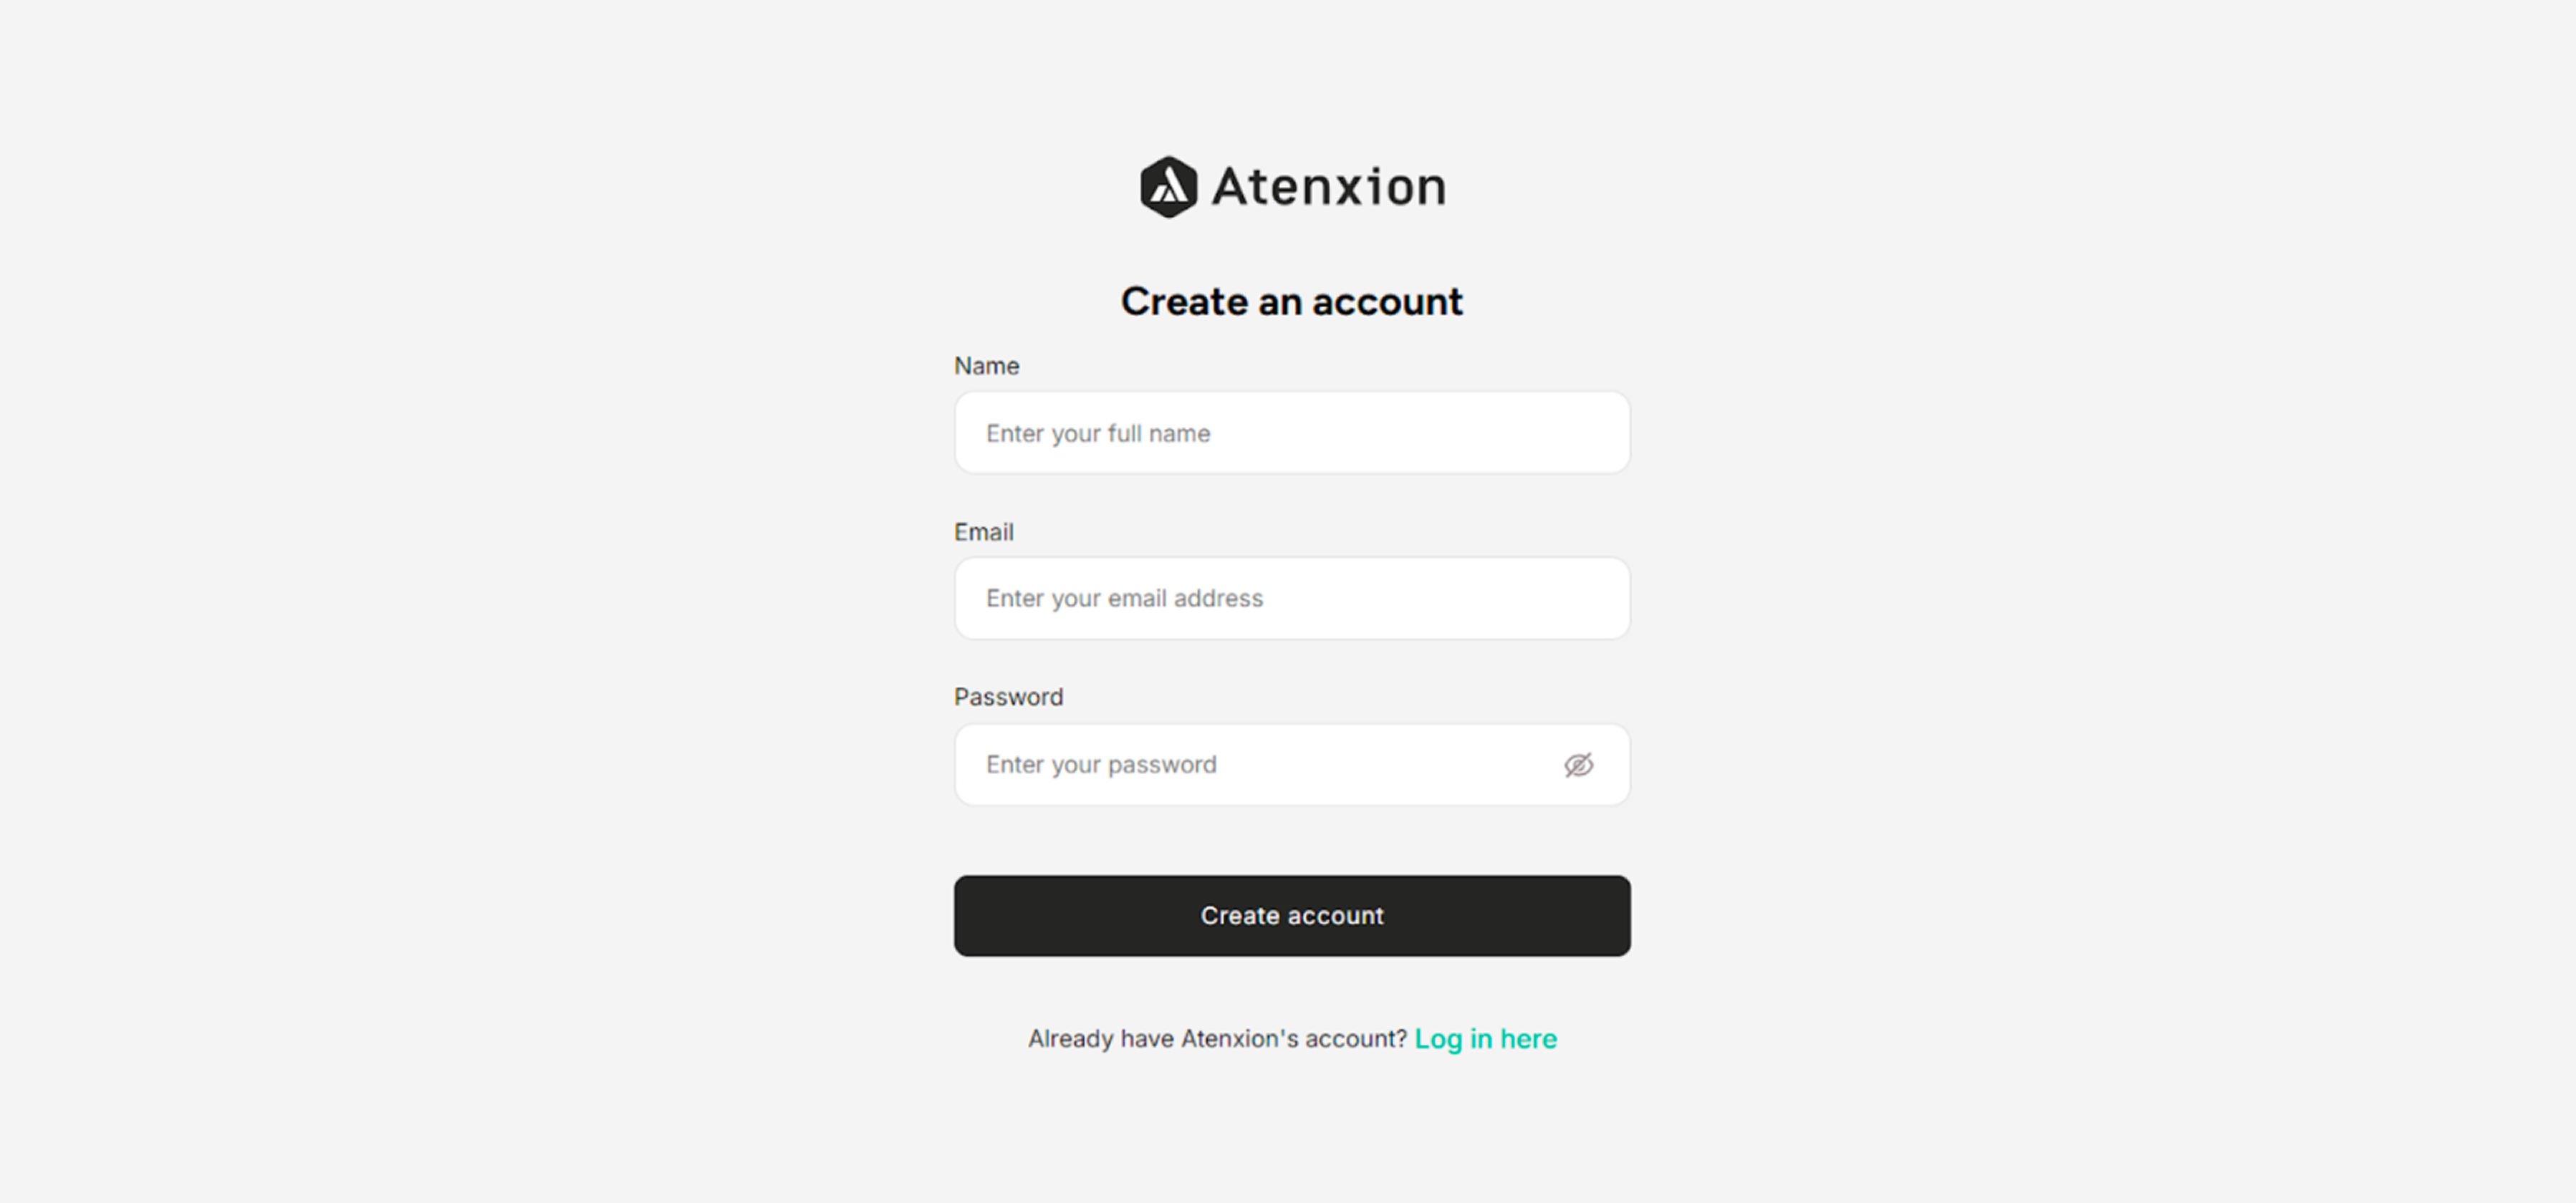 Figure: Create Account Page
Choose a strong, unique password that is not used for other accounts. Consider using a password manager to generate and store complex passwords securely.
Step 3: Verify Your Email Address
Account verification is required to activate your account:
- Check your email inbox for a verification message from the Atenxion Platform
- Locate the email with the subject line containing "Account Verification" or similar
- Open the email and review its contents
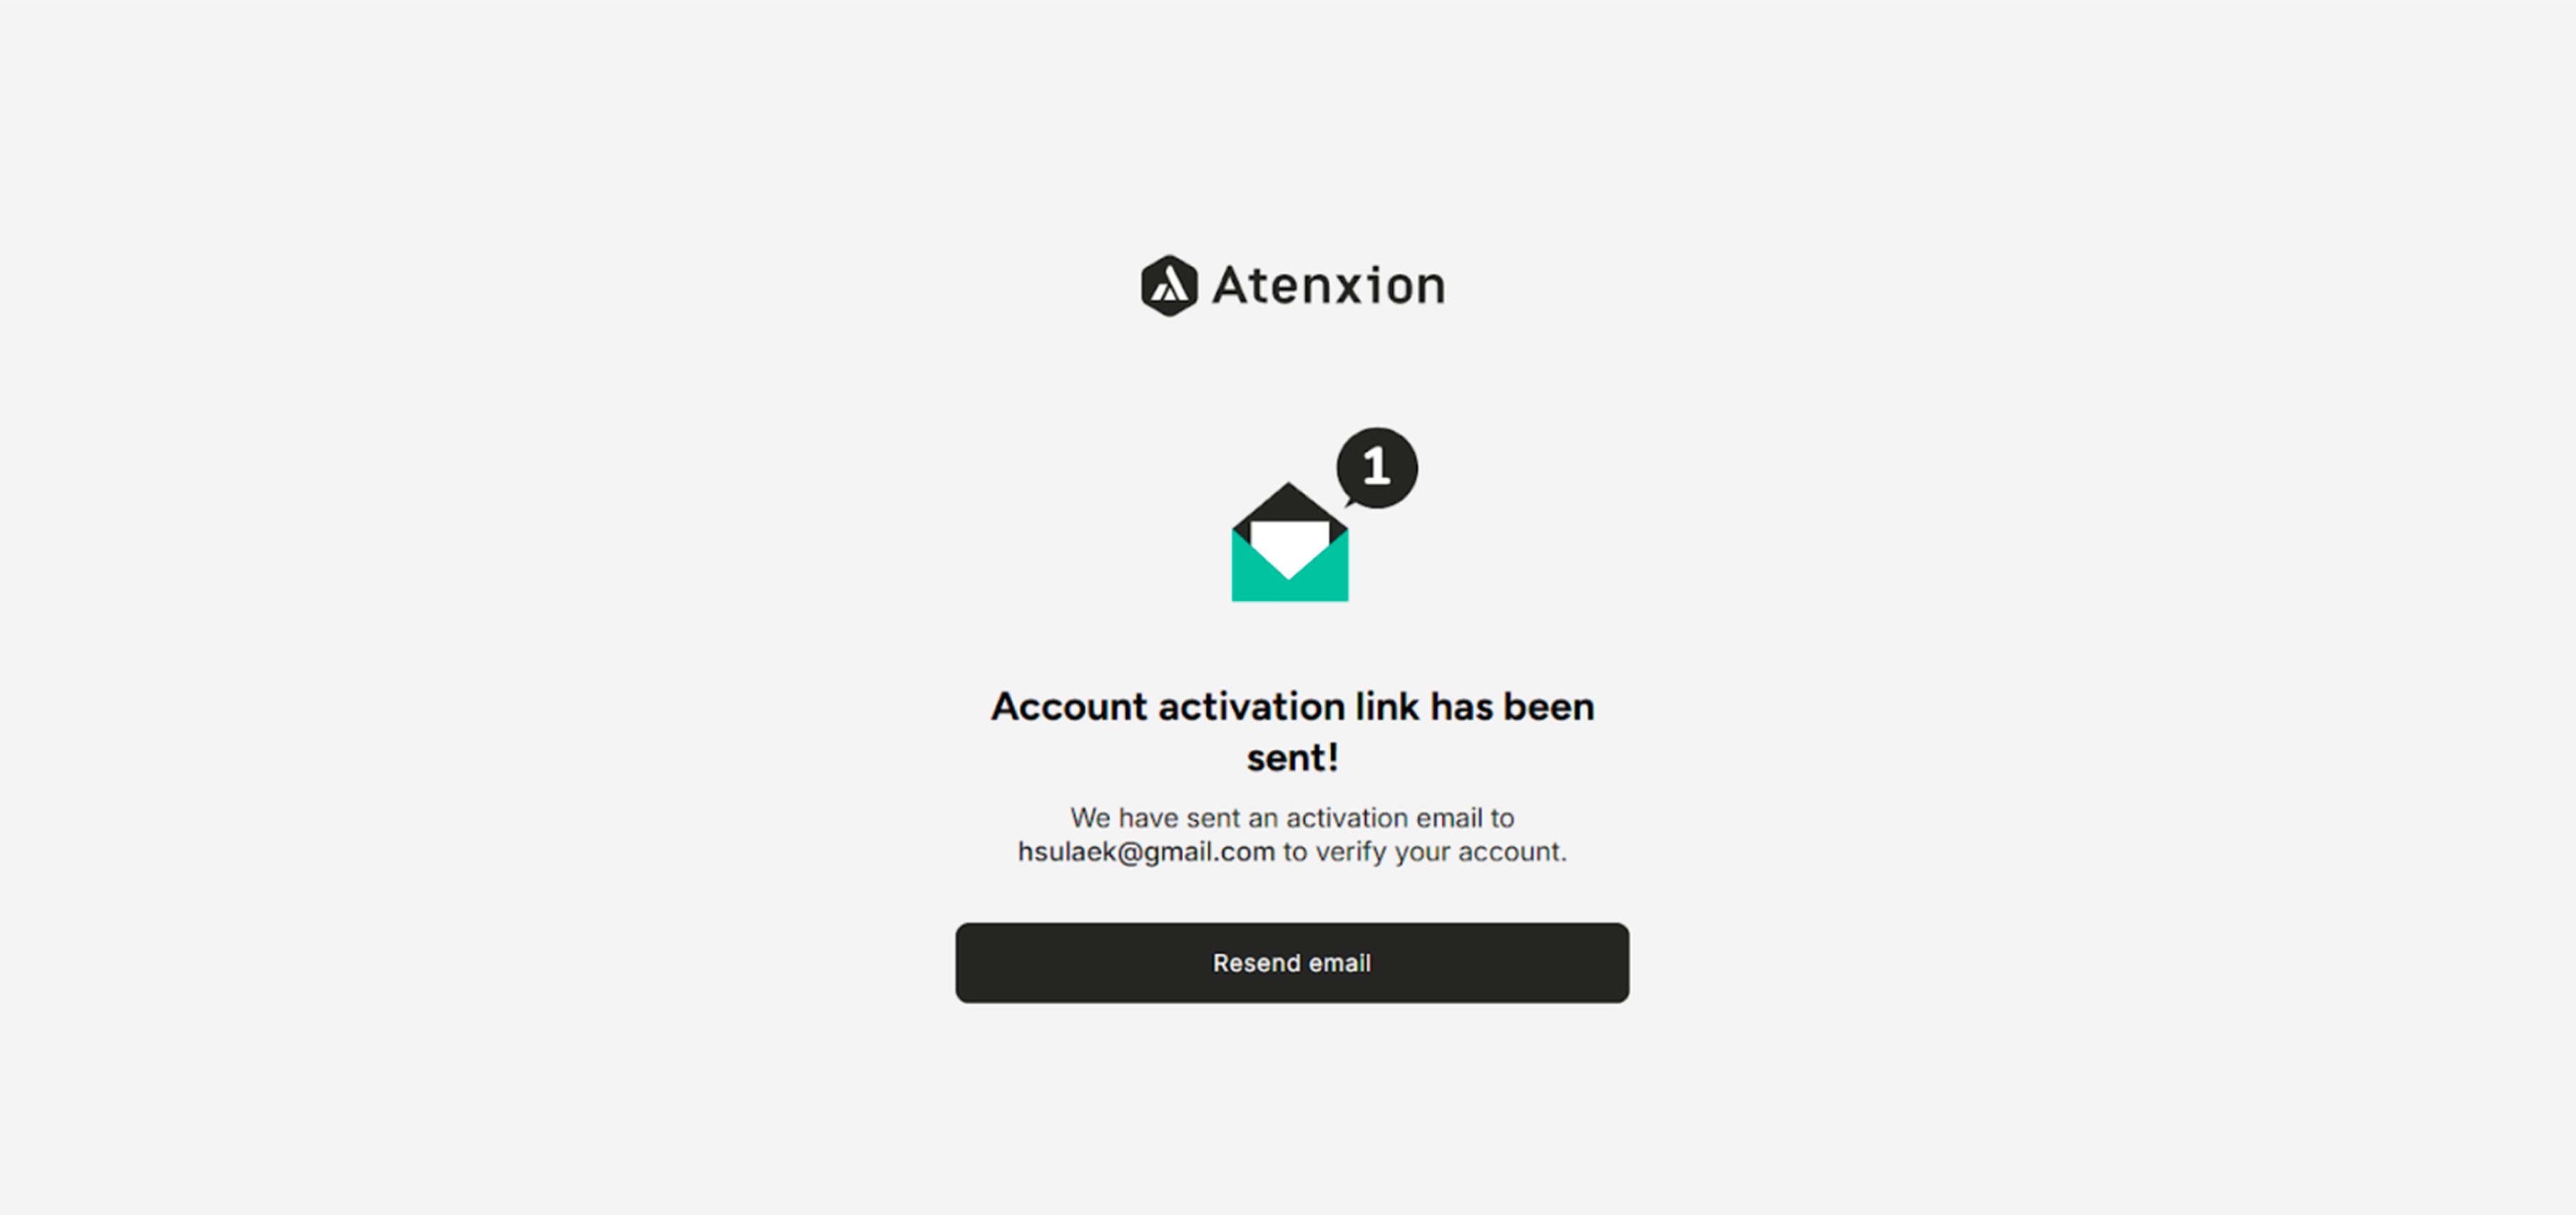 Figure: Check the Inbox to activate the New User Account
 Figure: Activation Email
Step 4: Activate Your Account
Complete the account activation process:
- Within the verification email, locate and click the Activate Account or Verify Email link
- The link will direct you to the account confirmation page
- Wait for the confirmation screen to load, indicating successful verification
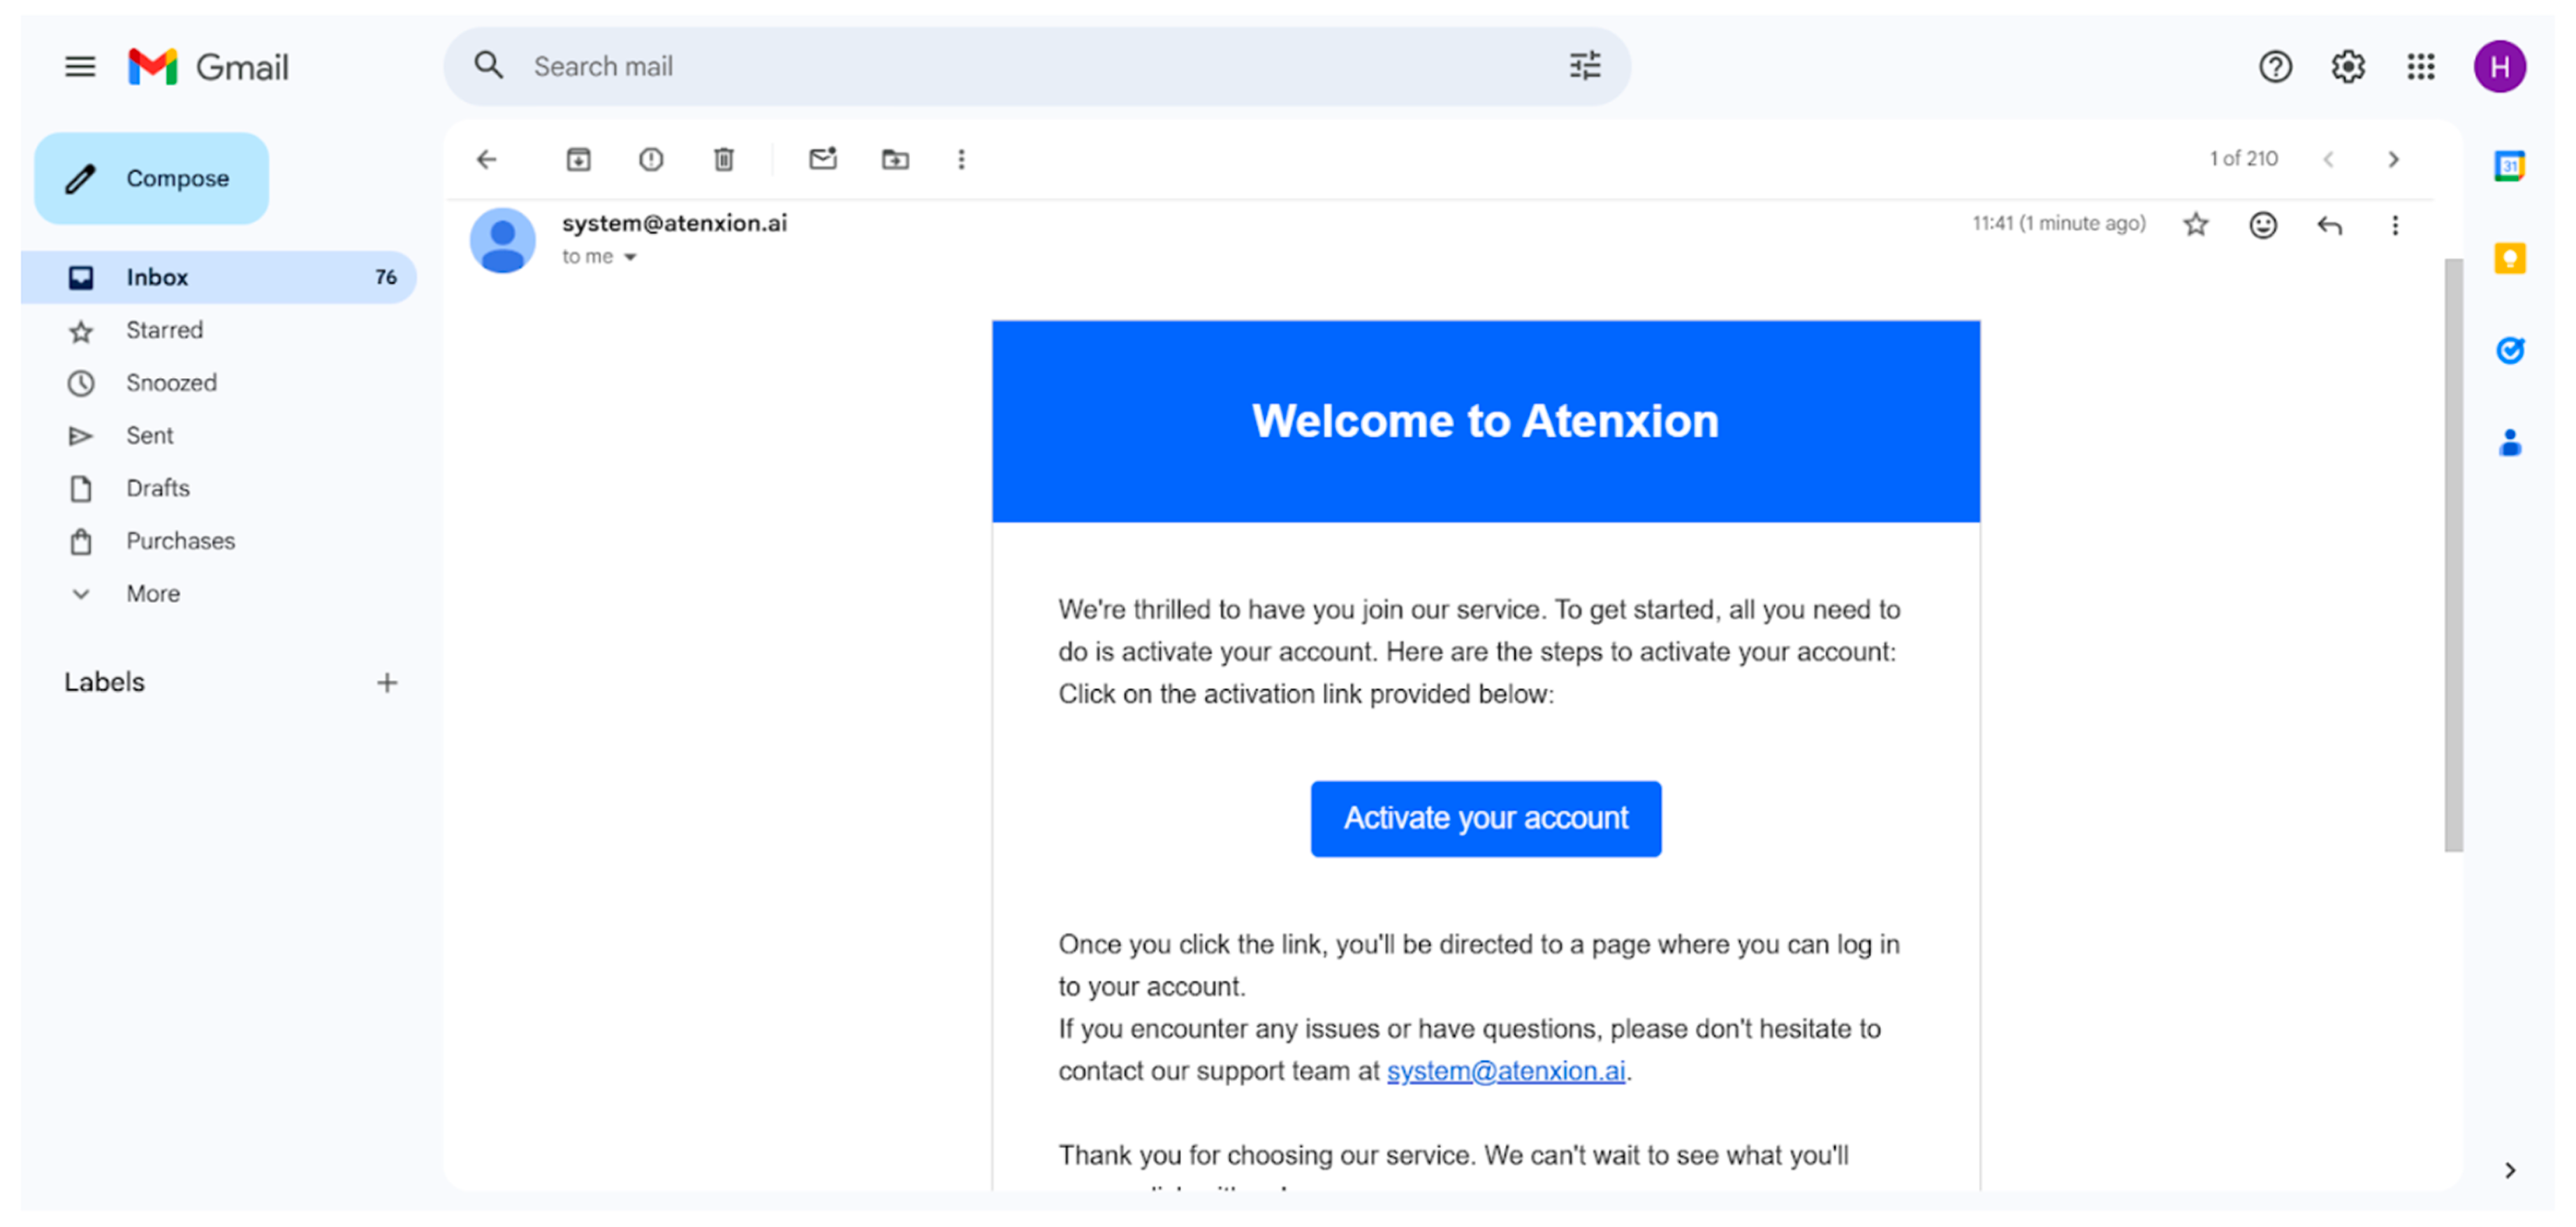 Figure: Activation Email Content
Step 5: Confirmation of Account Creation
Upon successful verification, you will see a confirmation message:
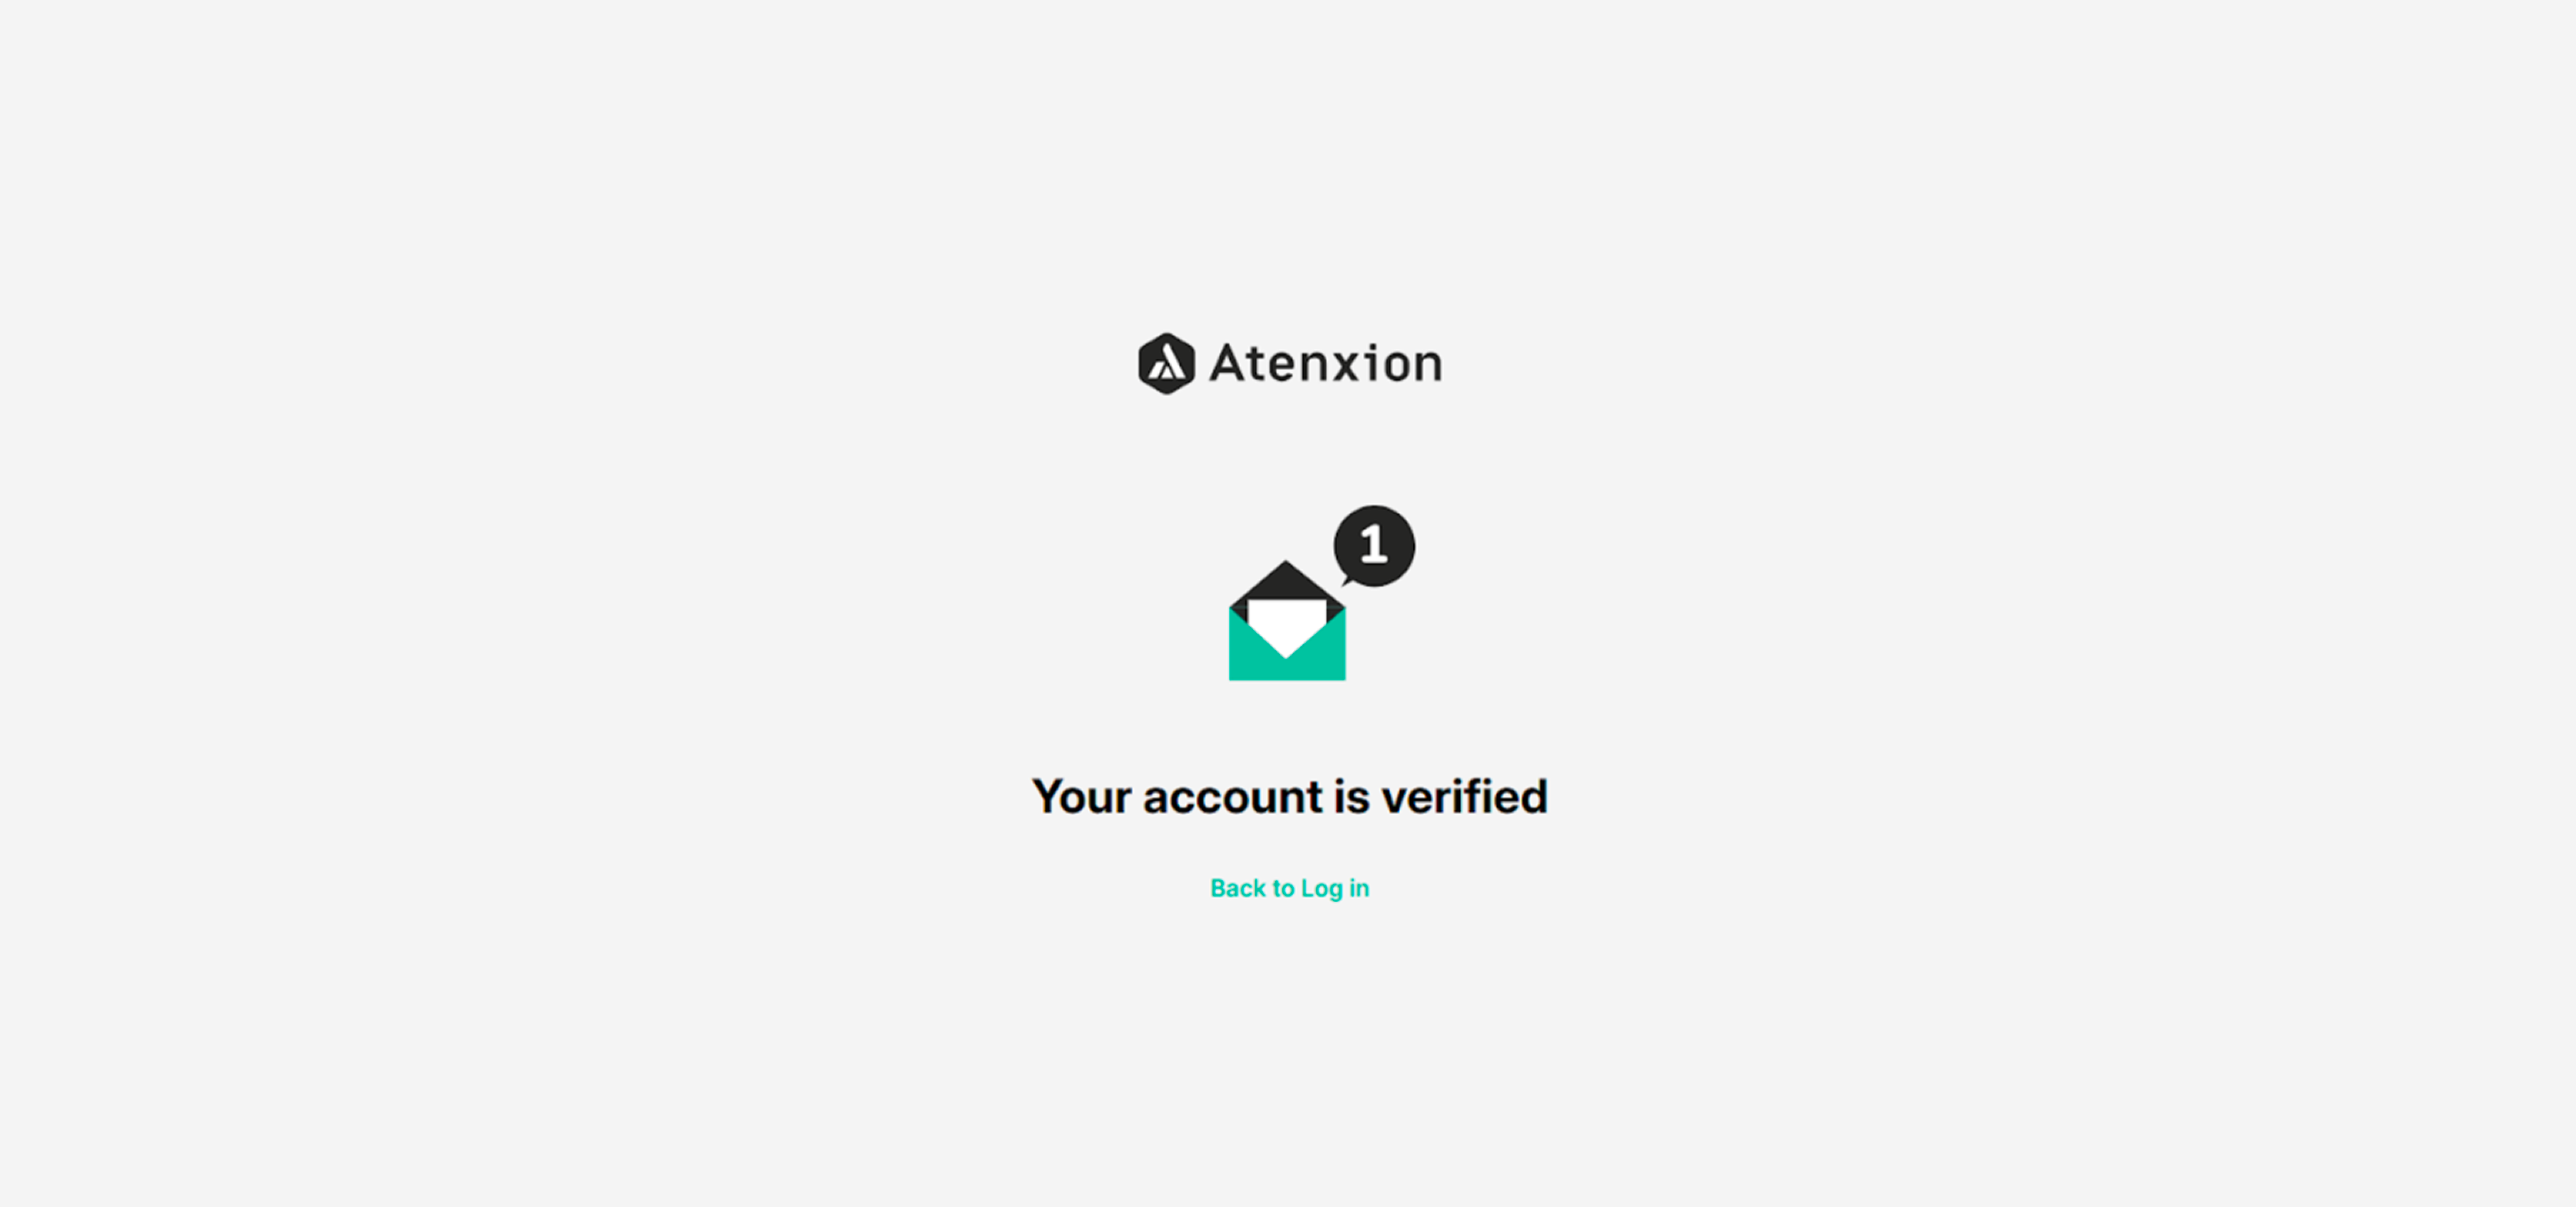 Figure: Account Verified Confirm Screen
Step 6: Access Your Account
Now that your account is verified, you can log in:
- Return to the login page
- Enter the email address and password you created during registration
- Click the Log In button
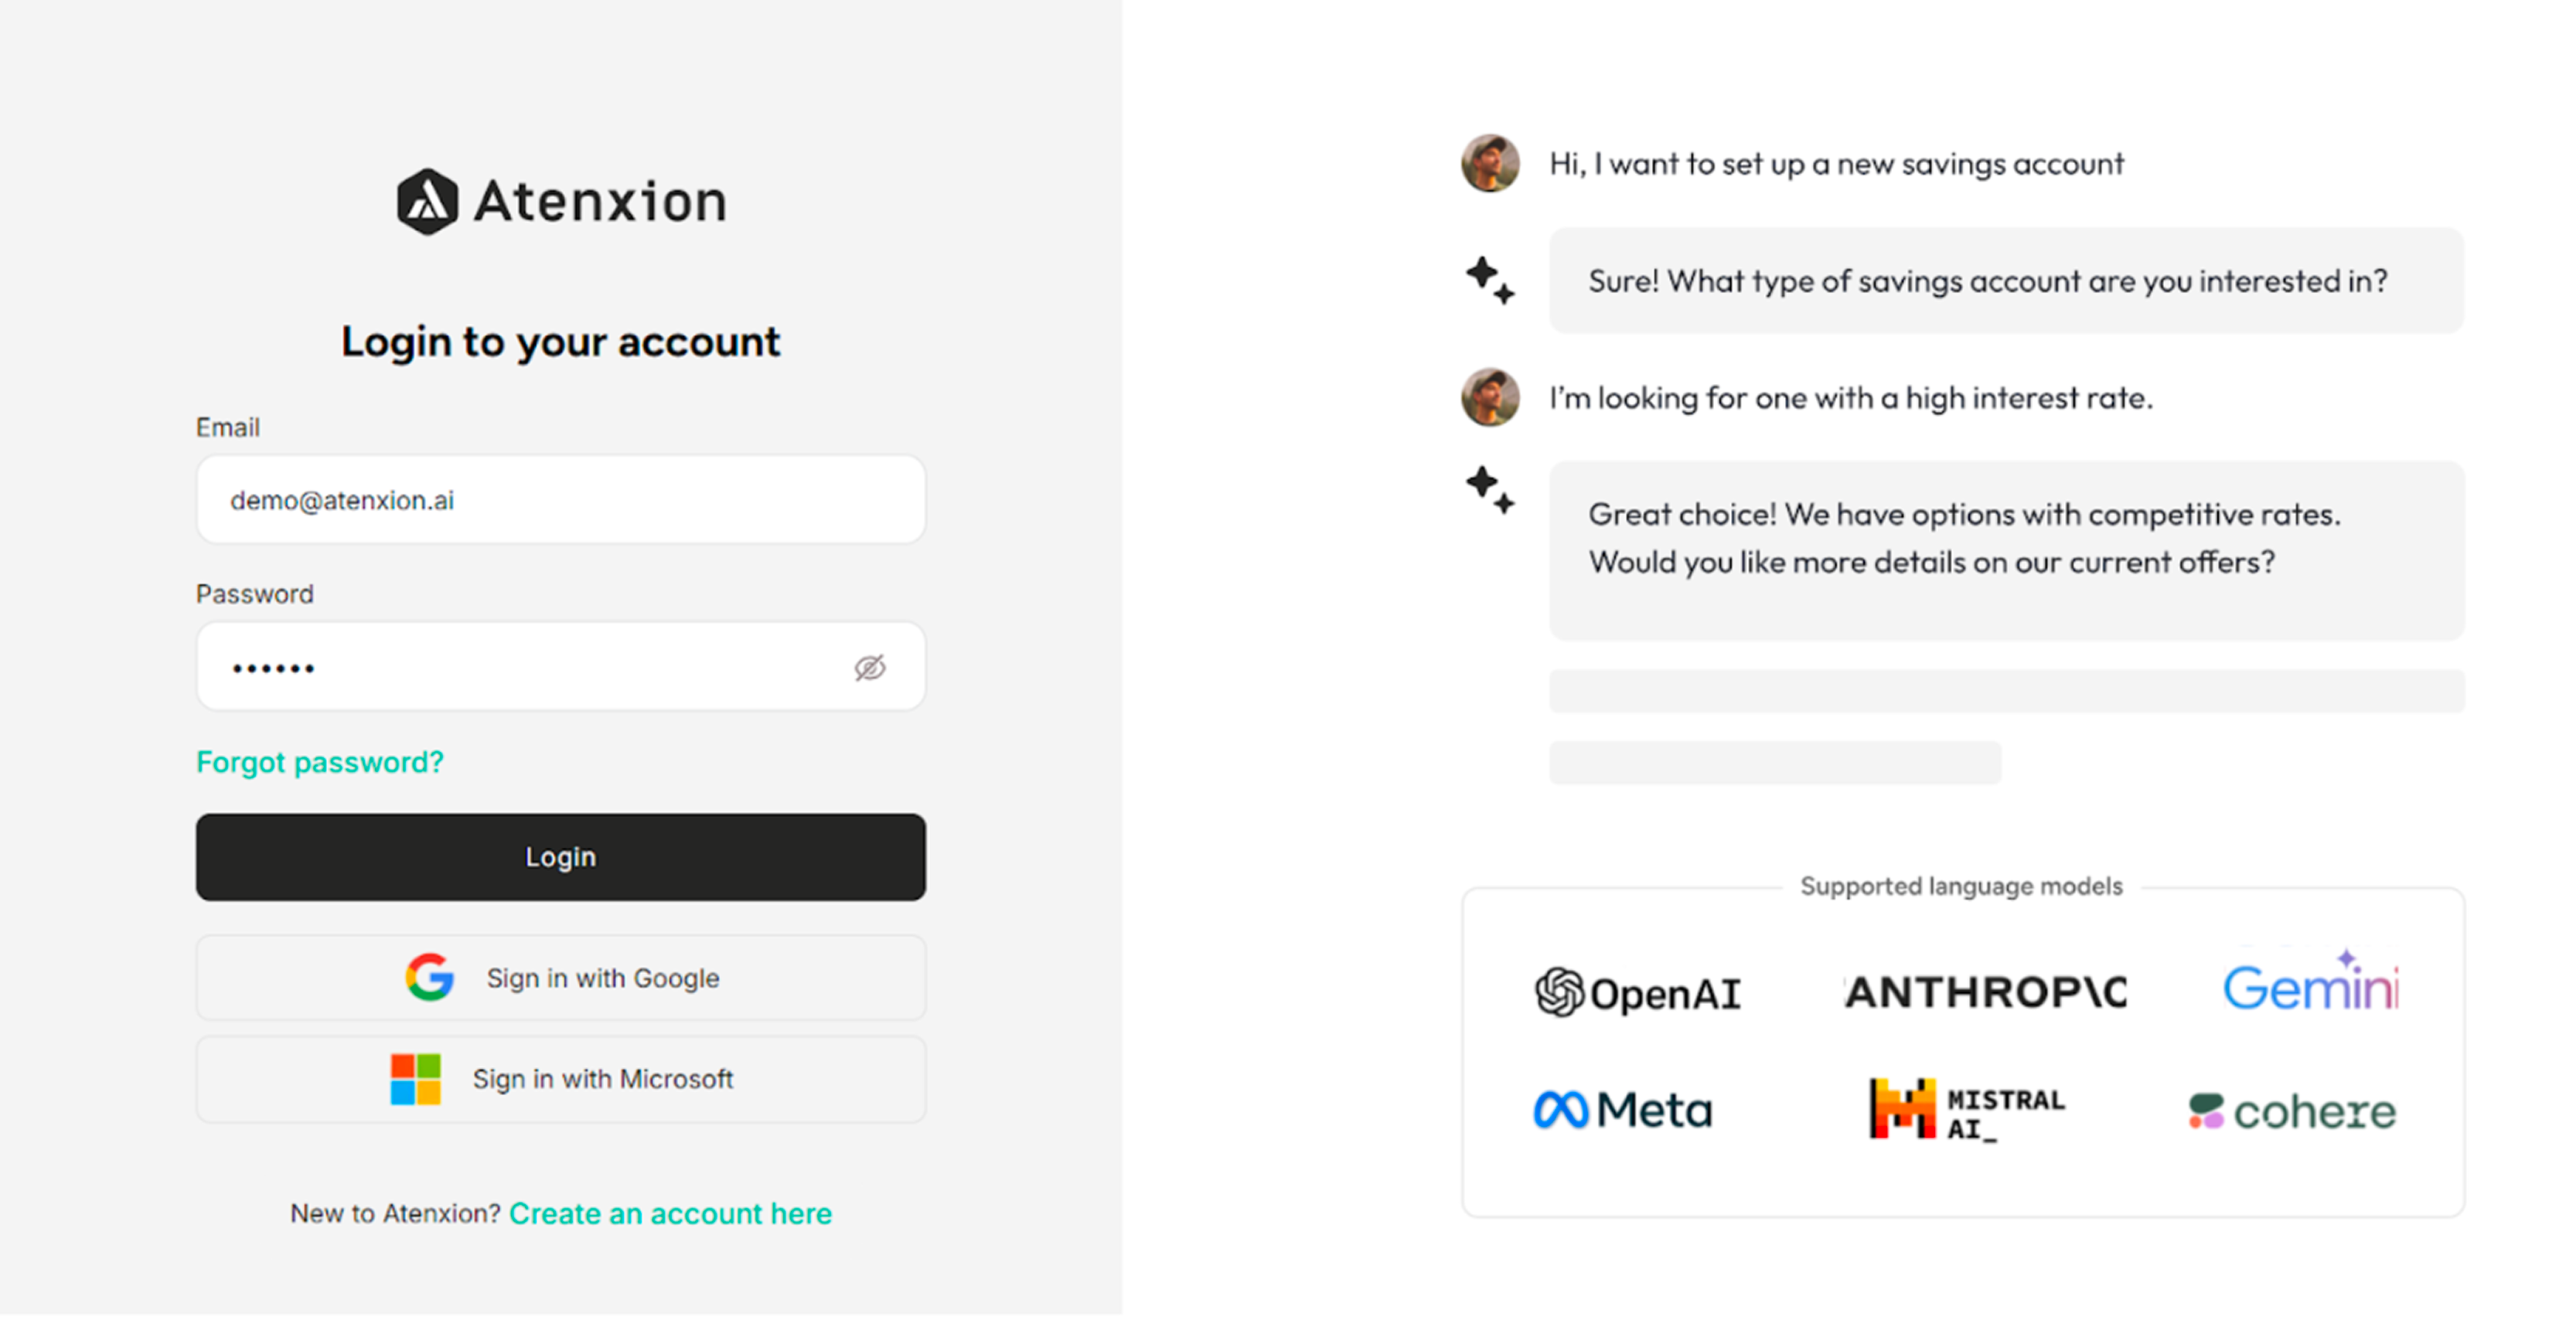 Figure: Login Screen
Step 7: Successful Login and Dashboard Access
After logging in, you will be directed to your personalized dashboard:
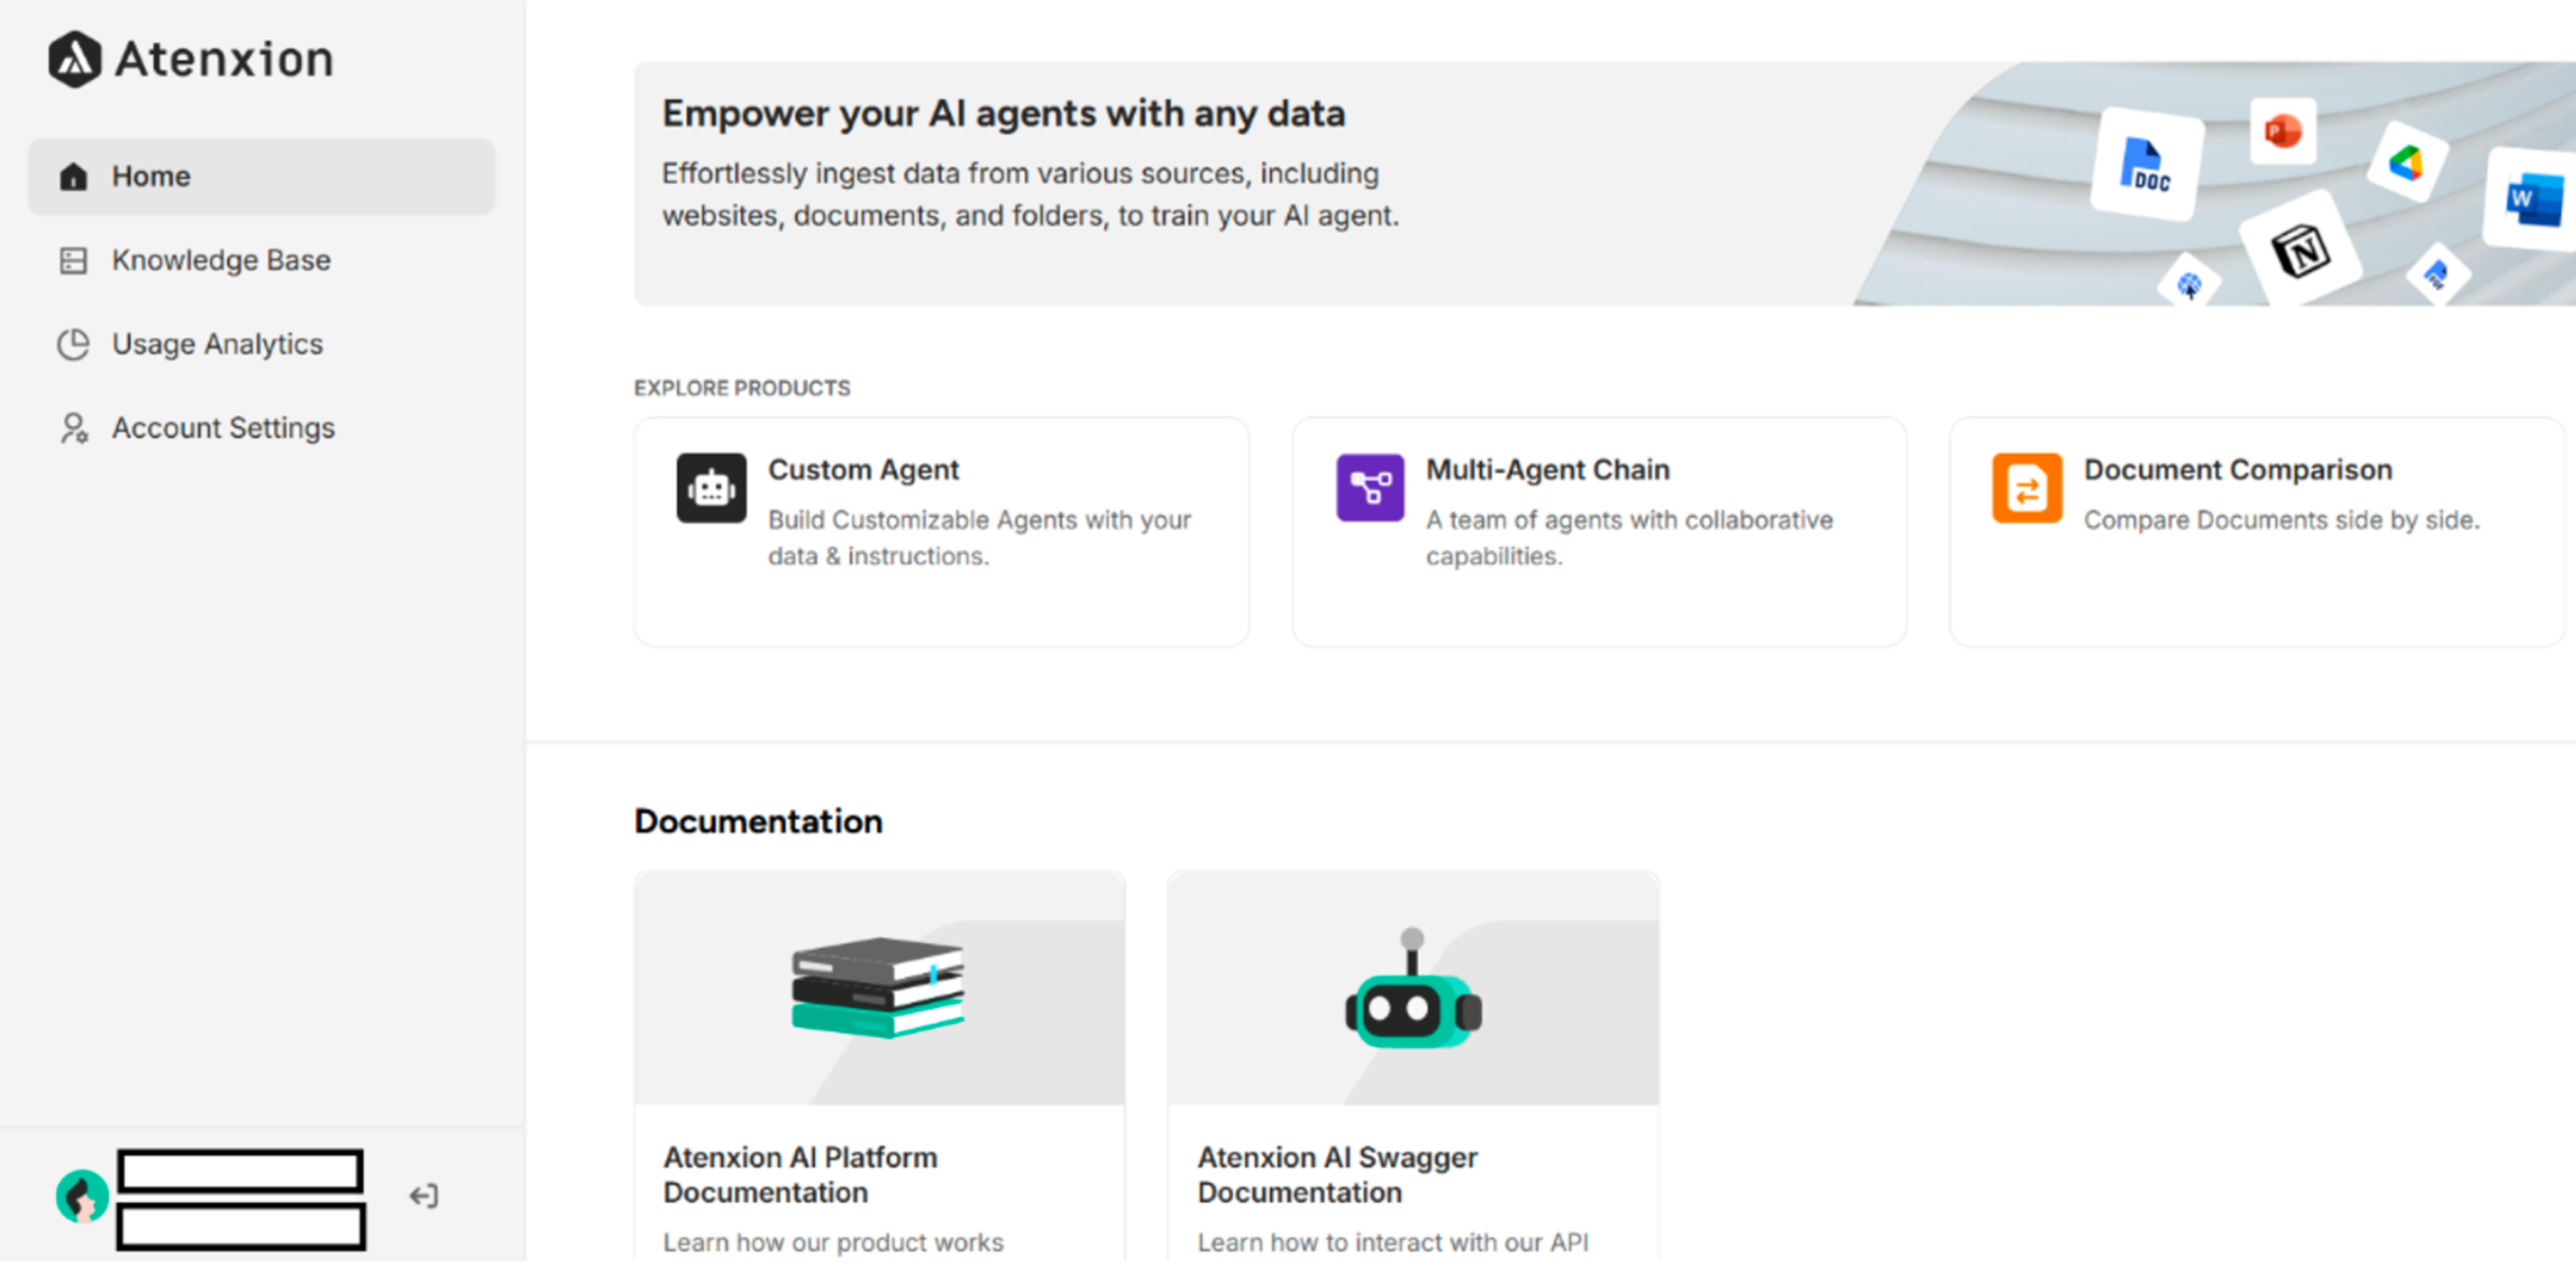 Figure: Main Screen with Created Account's Username and Mail
Account Security Best Practices
- Store your login credentials securely
- Enable two-factor authentication if available
- Regularly update your password
- Do not share your account with others
- Log out of shared or public devices
Troubleshooting Common Issues
If you encounter difficulties during account creation:
- Email not received: Check your spam or junk folder and ensure the email address was entered correctly
- Link expired: Request a new verification email if the activation link has expired
- Password requirements not met: Verify that your password meets all specified criteria
- Registration form errors: Ensure all required fields are completed accurately
For additional assistance, contact your system administrator or the support team.