Create a Multi-Agent with RAG Tool and Custom Actions
Step 1: Choose a blank canvas to customize for defining the user's own agent behavior.
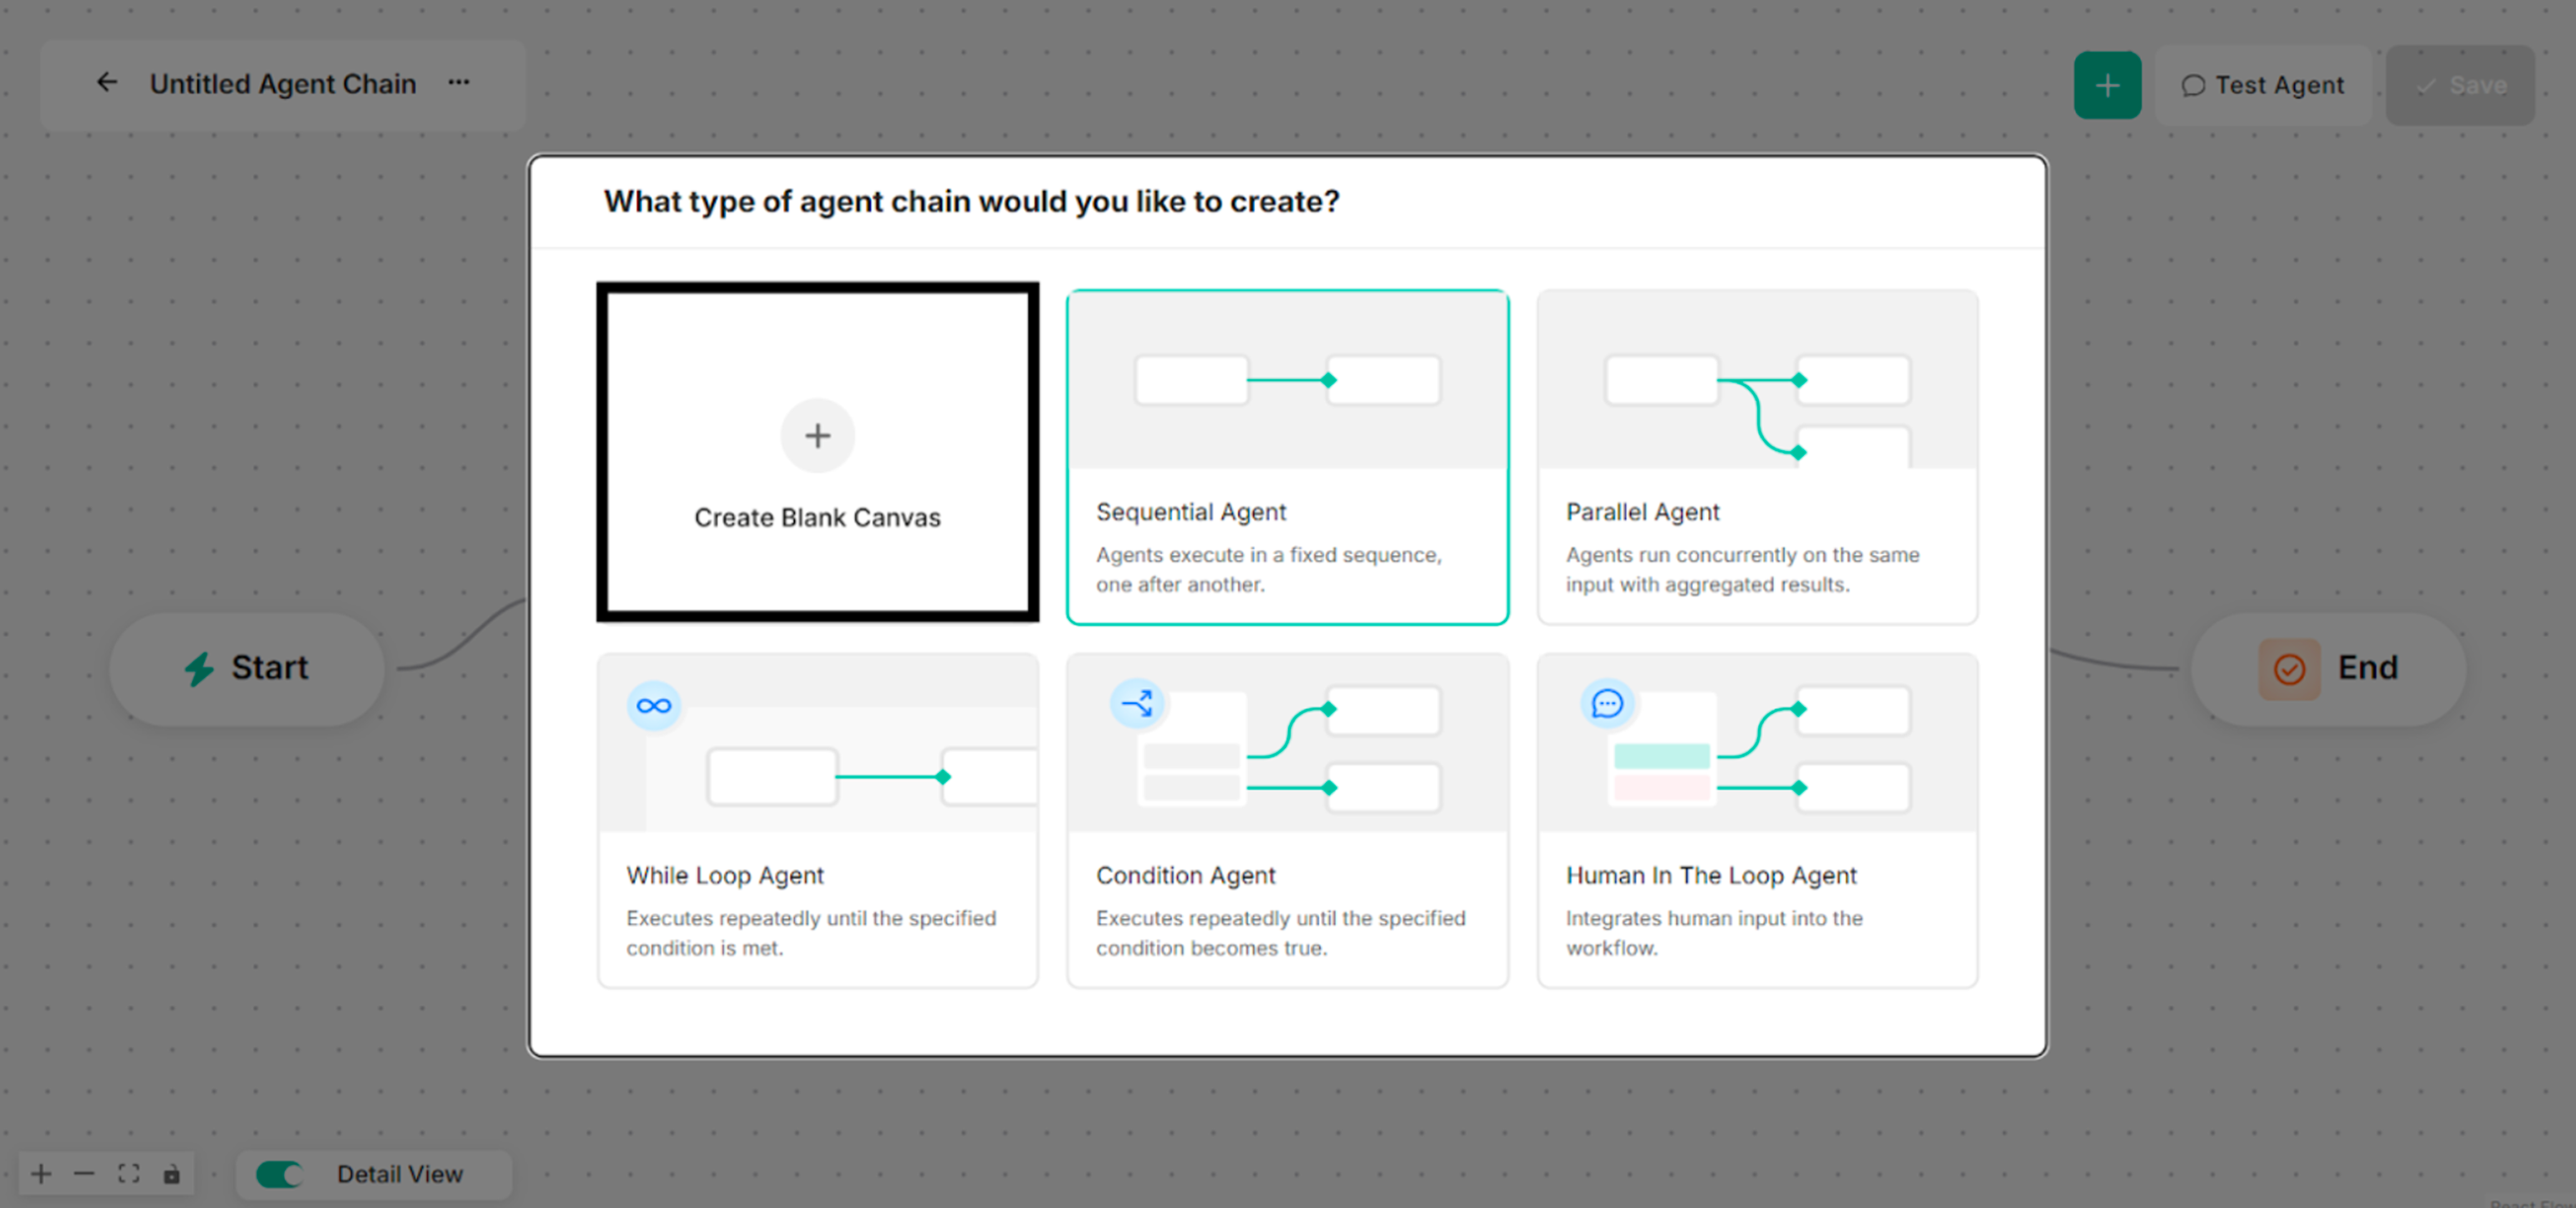
Step 2: Choose RAG Tool for the selected type of agent chain to create. The Agent Name and Model Name can be renamed before a RAG Tool is chosen.
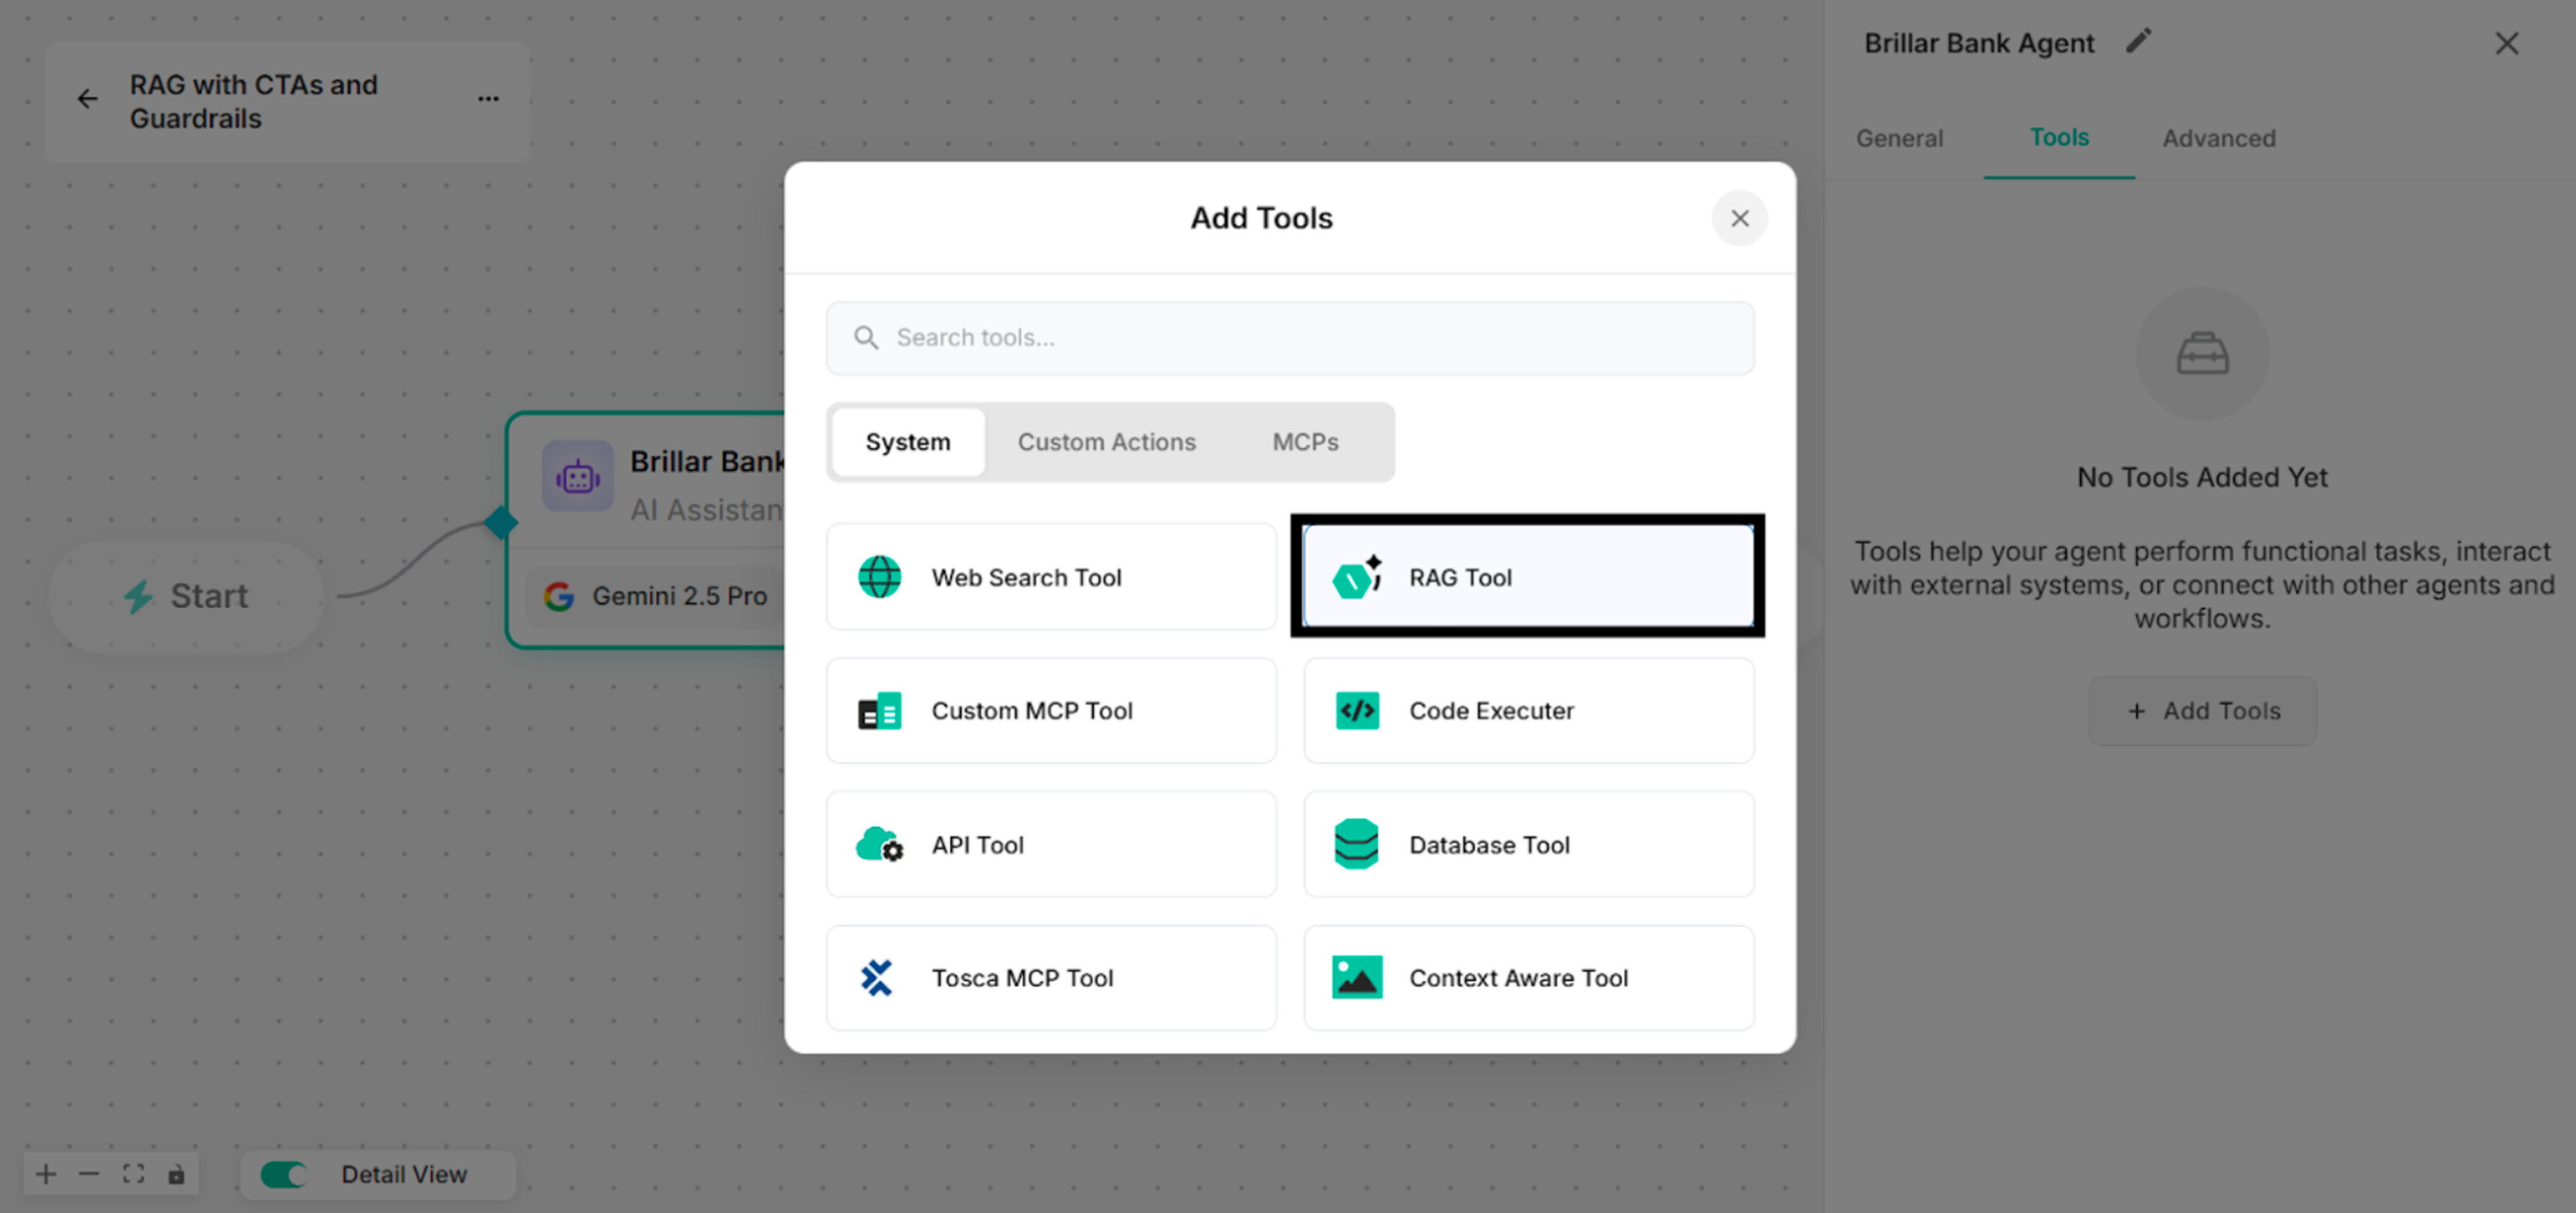
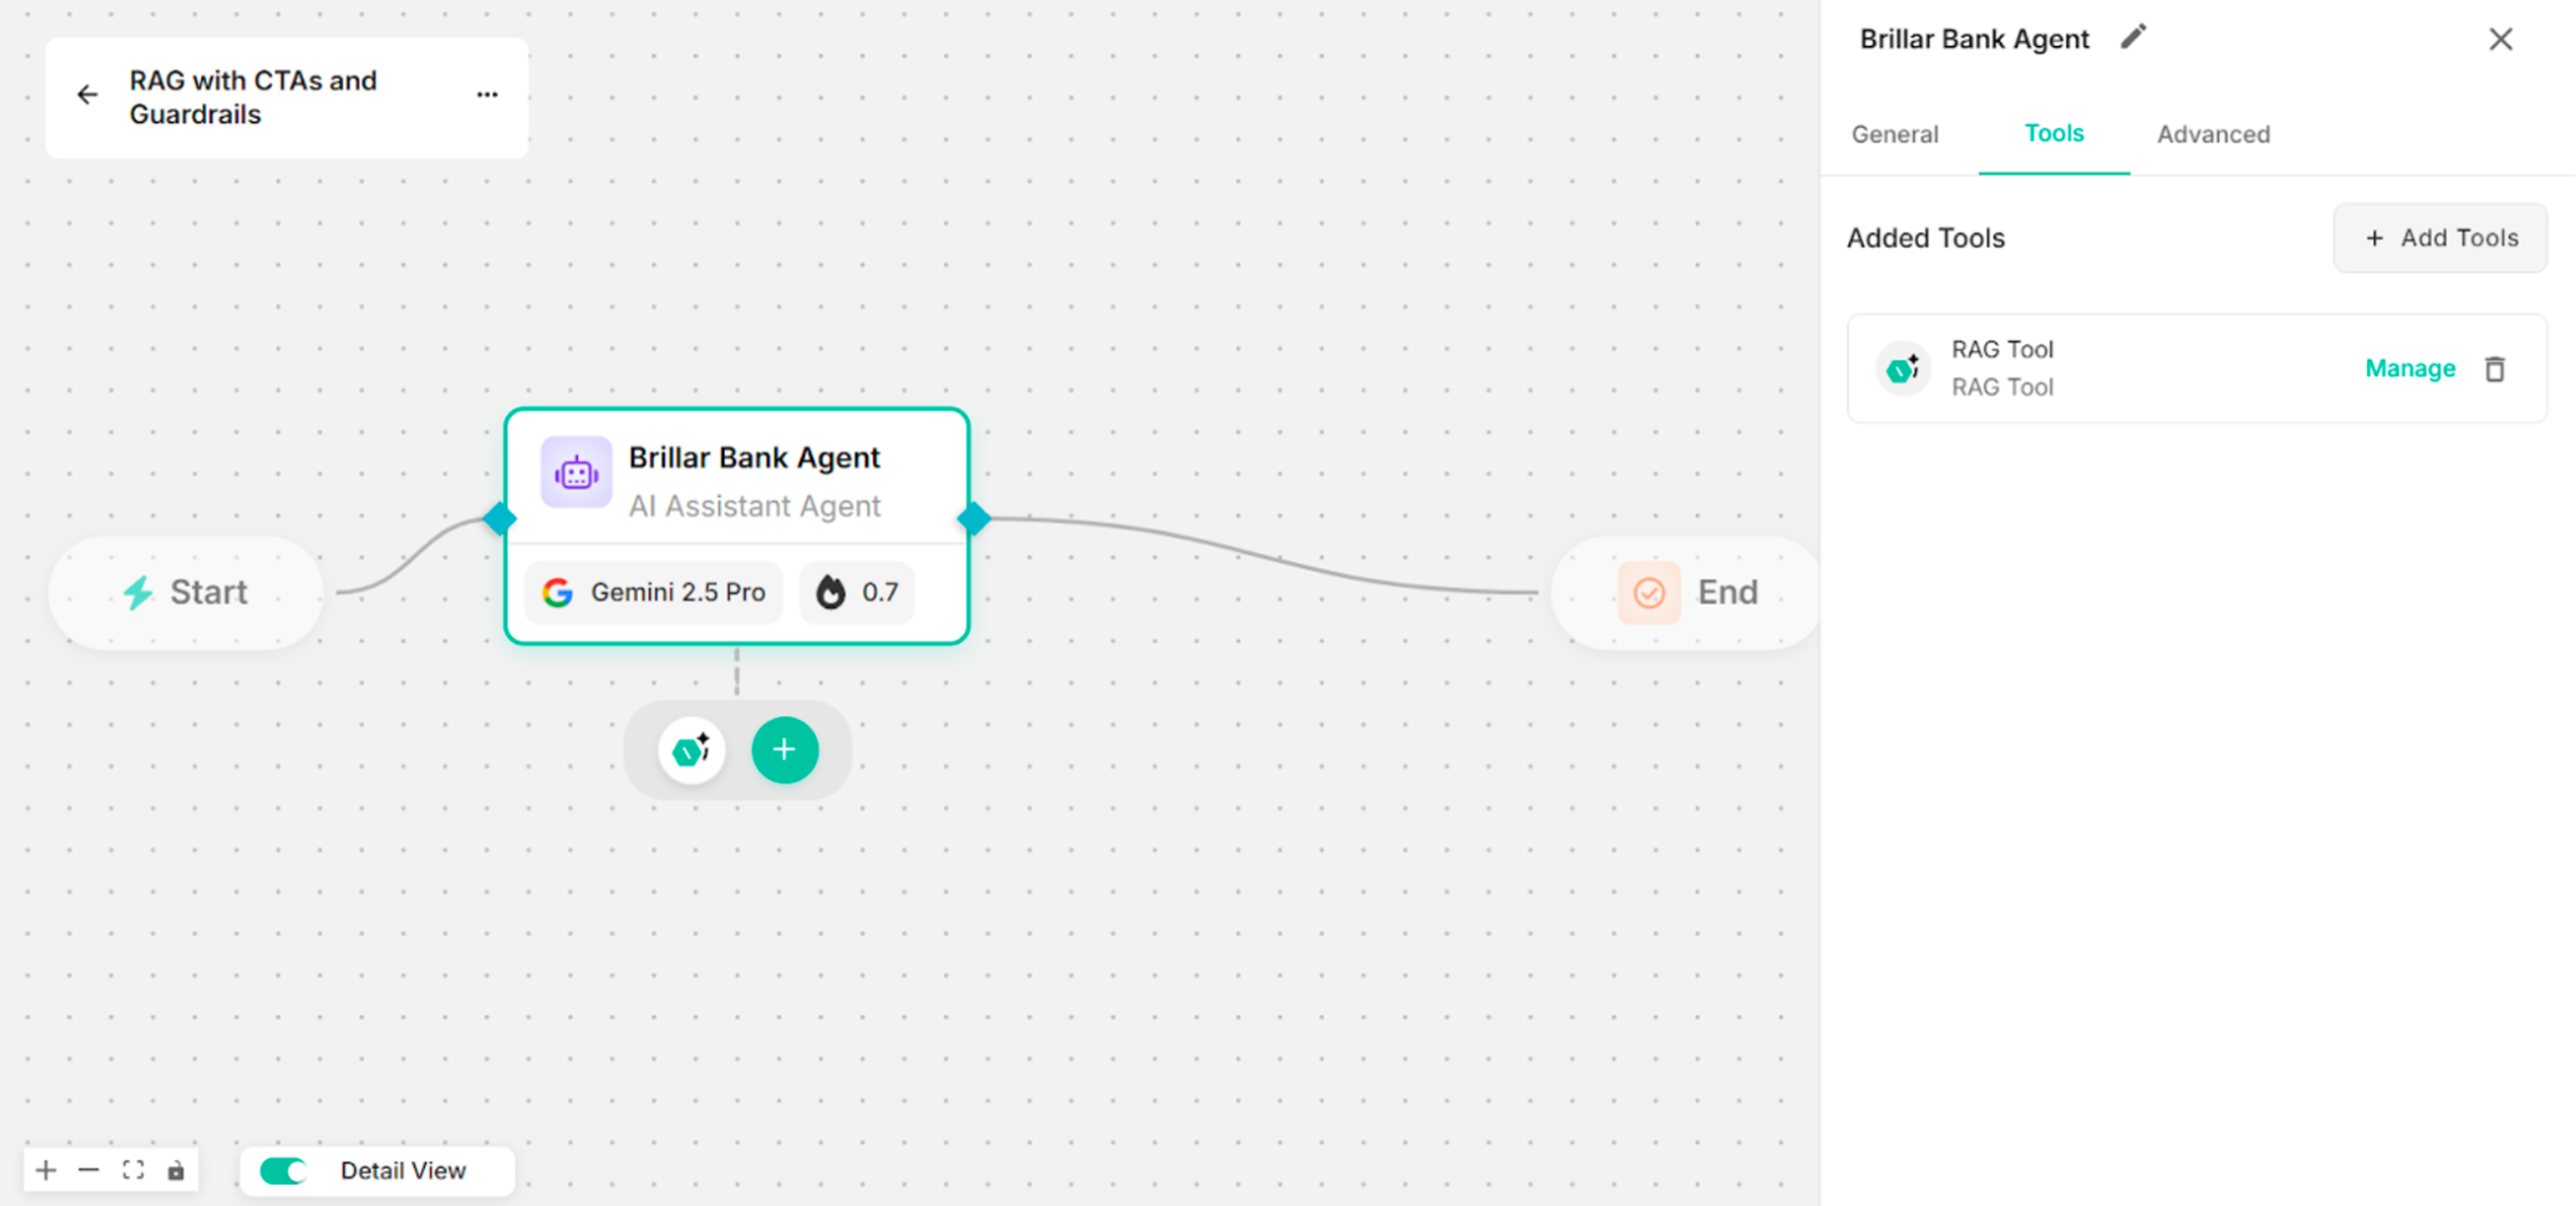
Step 3: Create a RAG tool step-by-step on Edit Canvas.
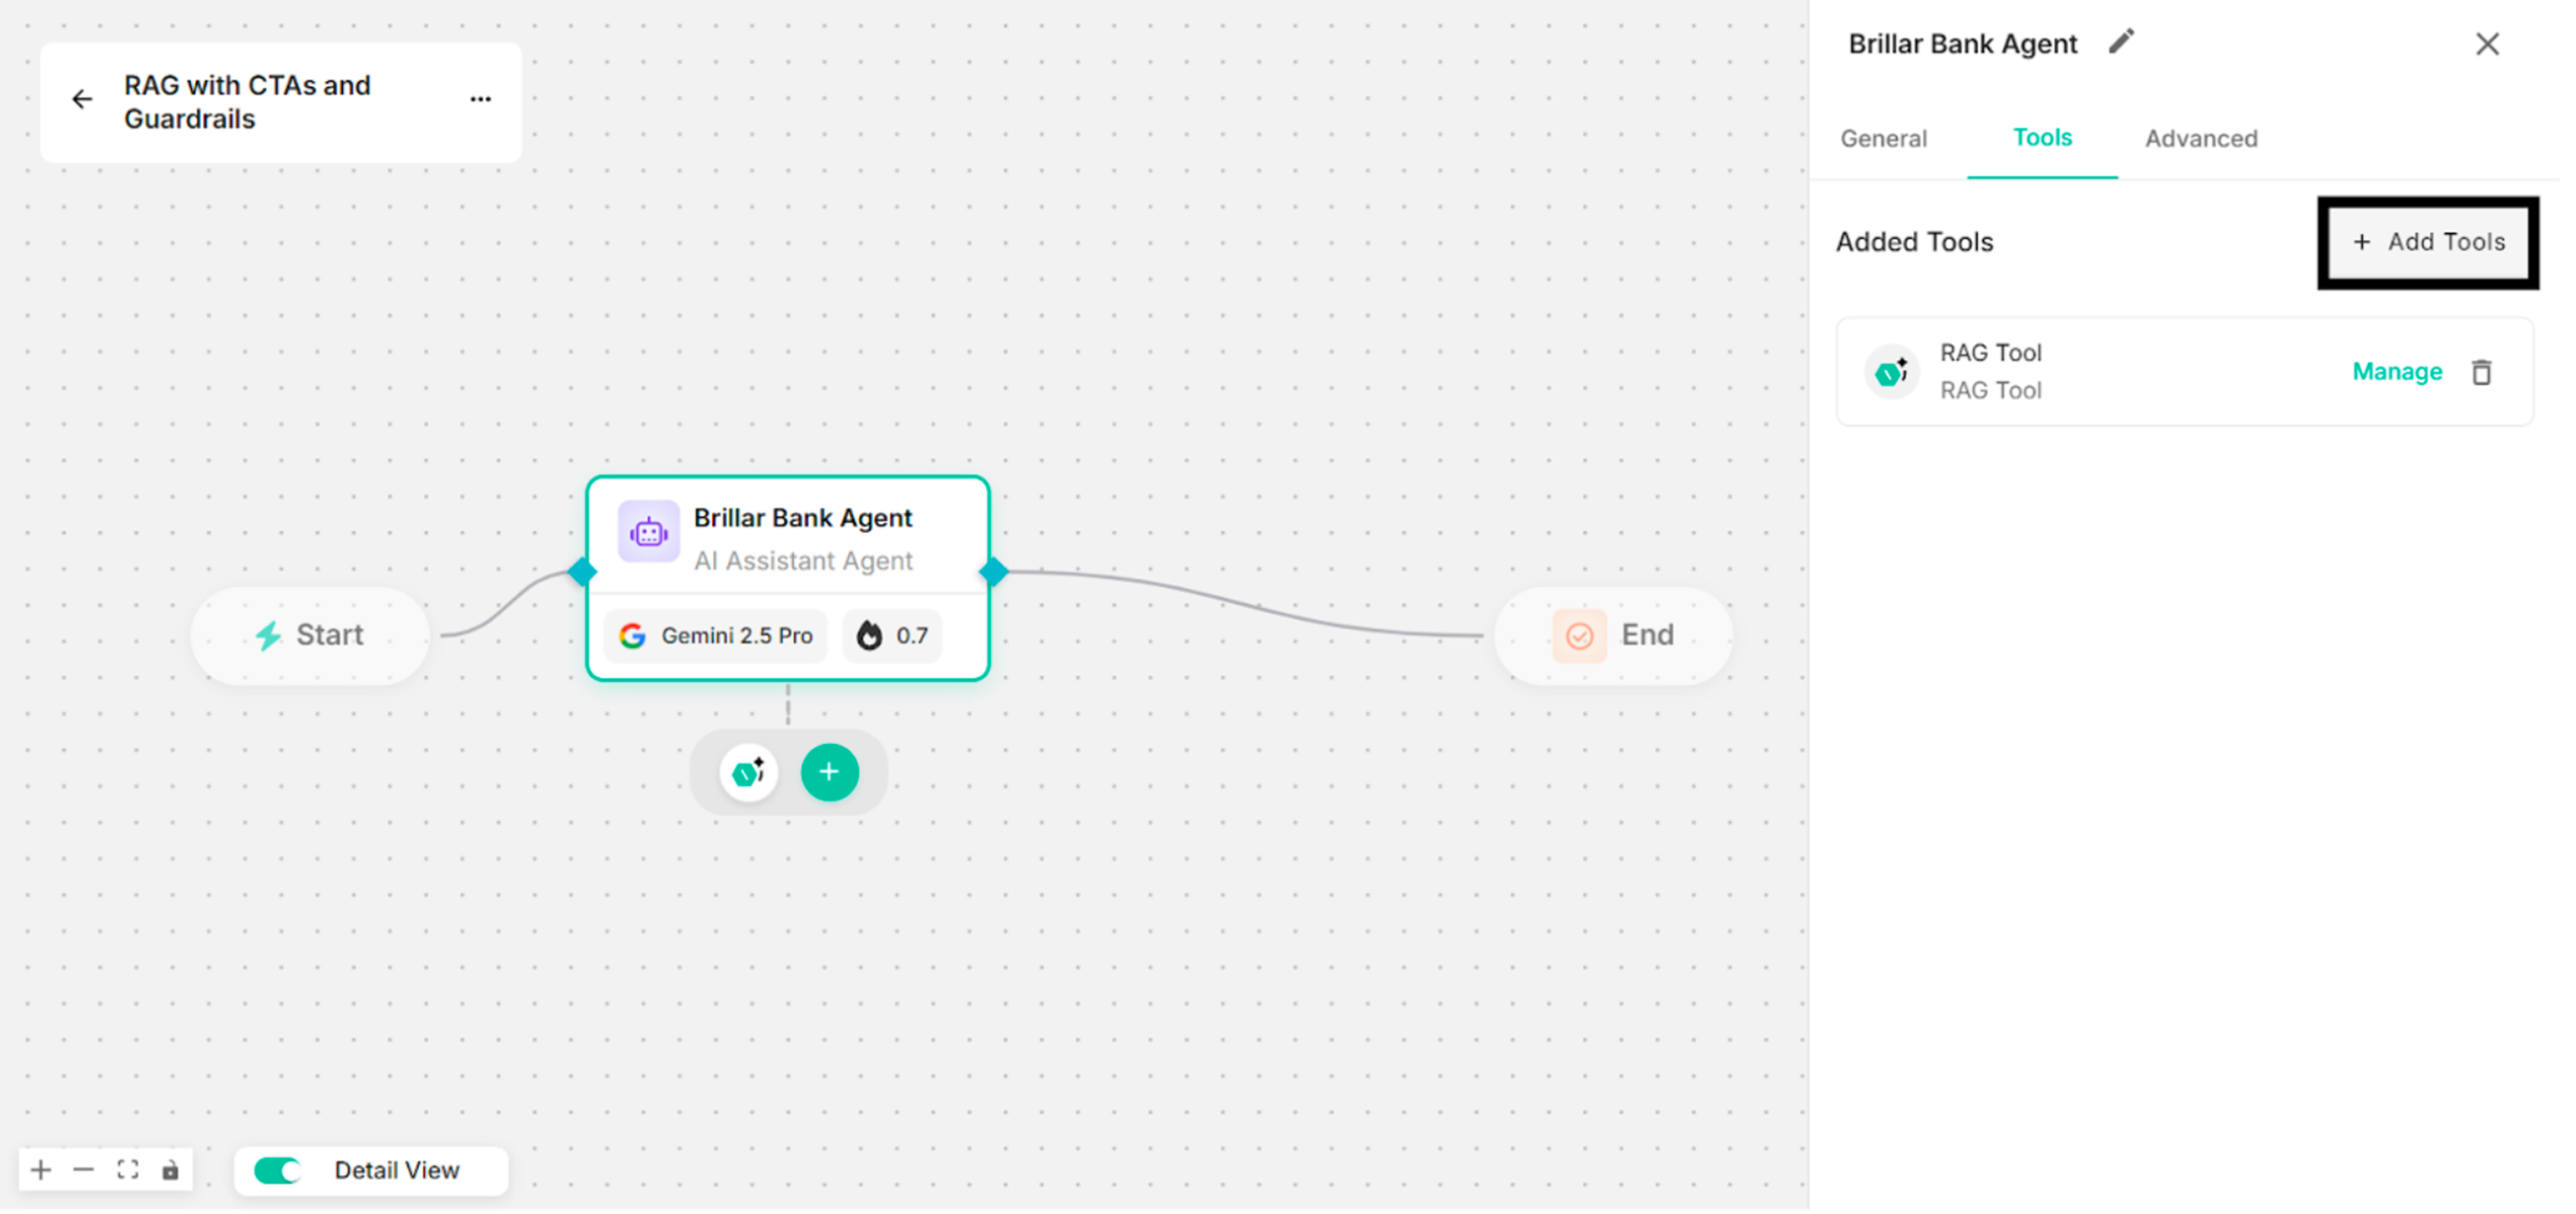
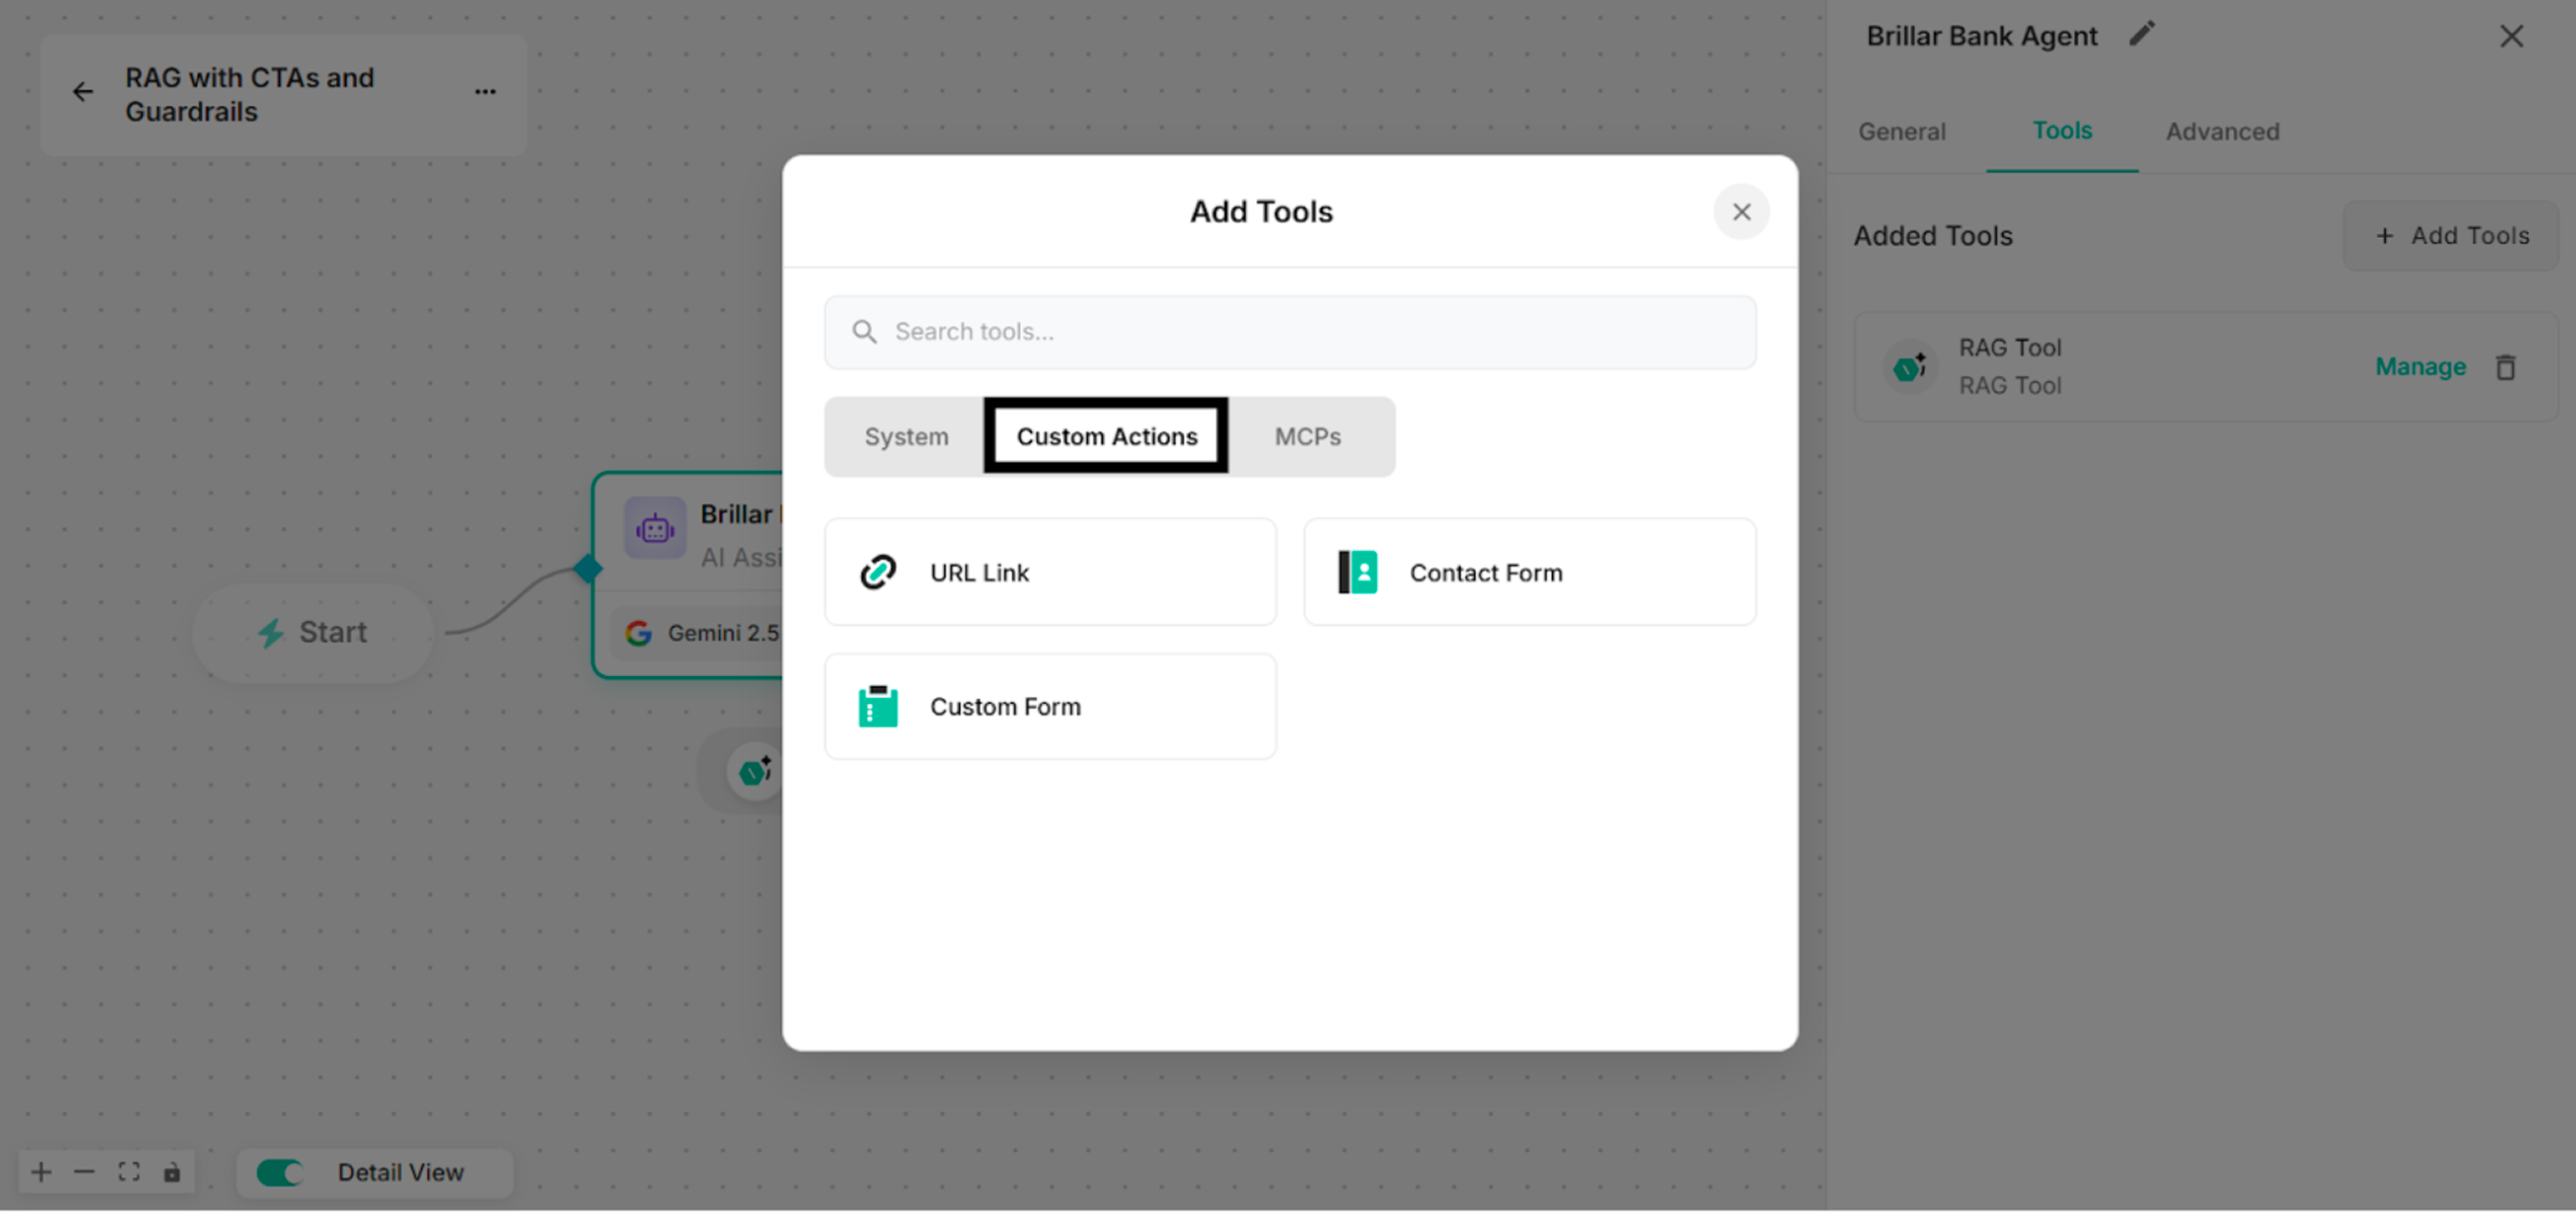
Step 4: Click "+ Add Tools" to add custom actions (URL Link, Contact Form, Custom Form) on Edit Canvas.
Step 5: Click "Custom Actions" in Add Tools Interface.
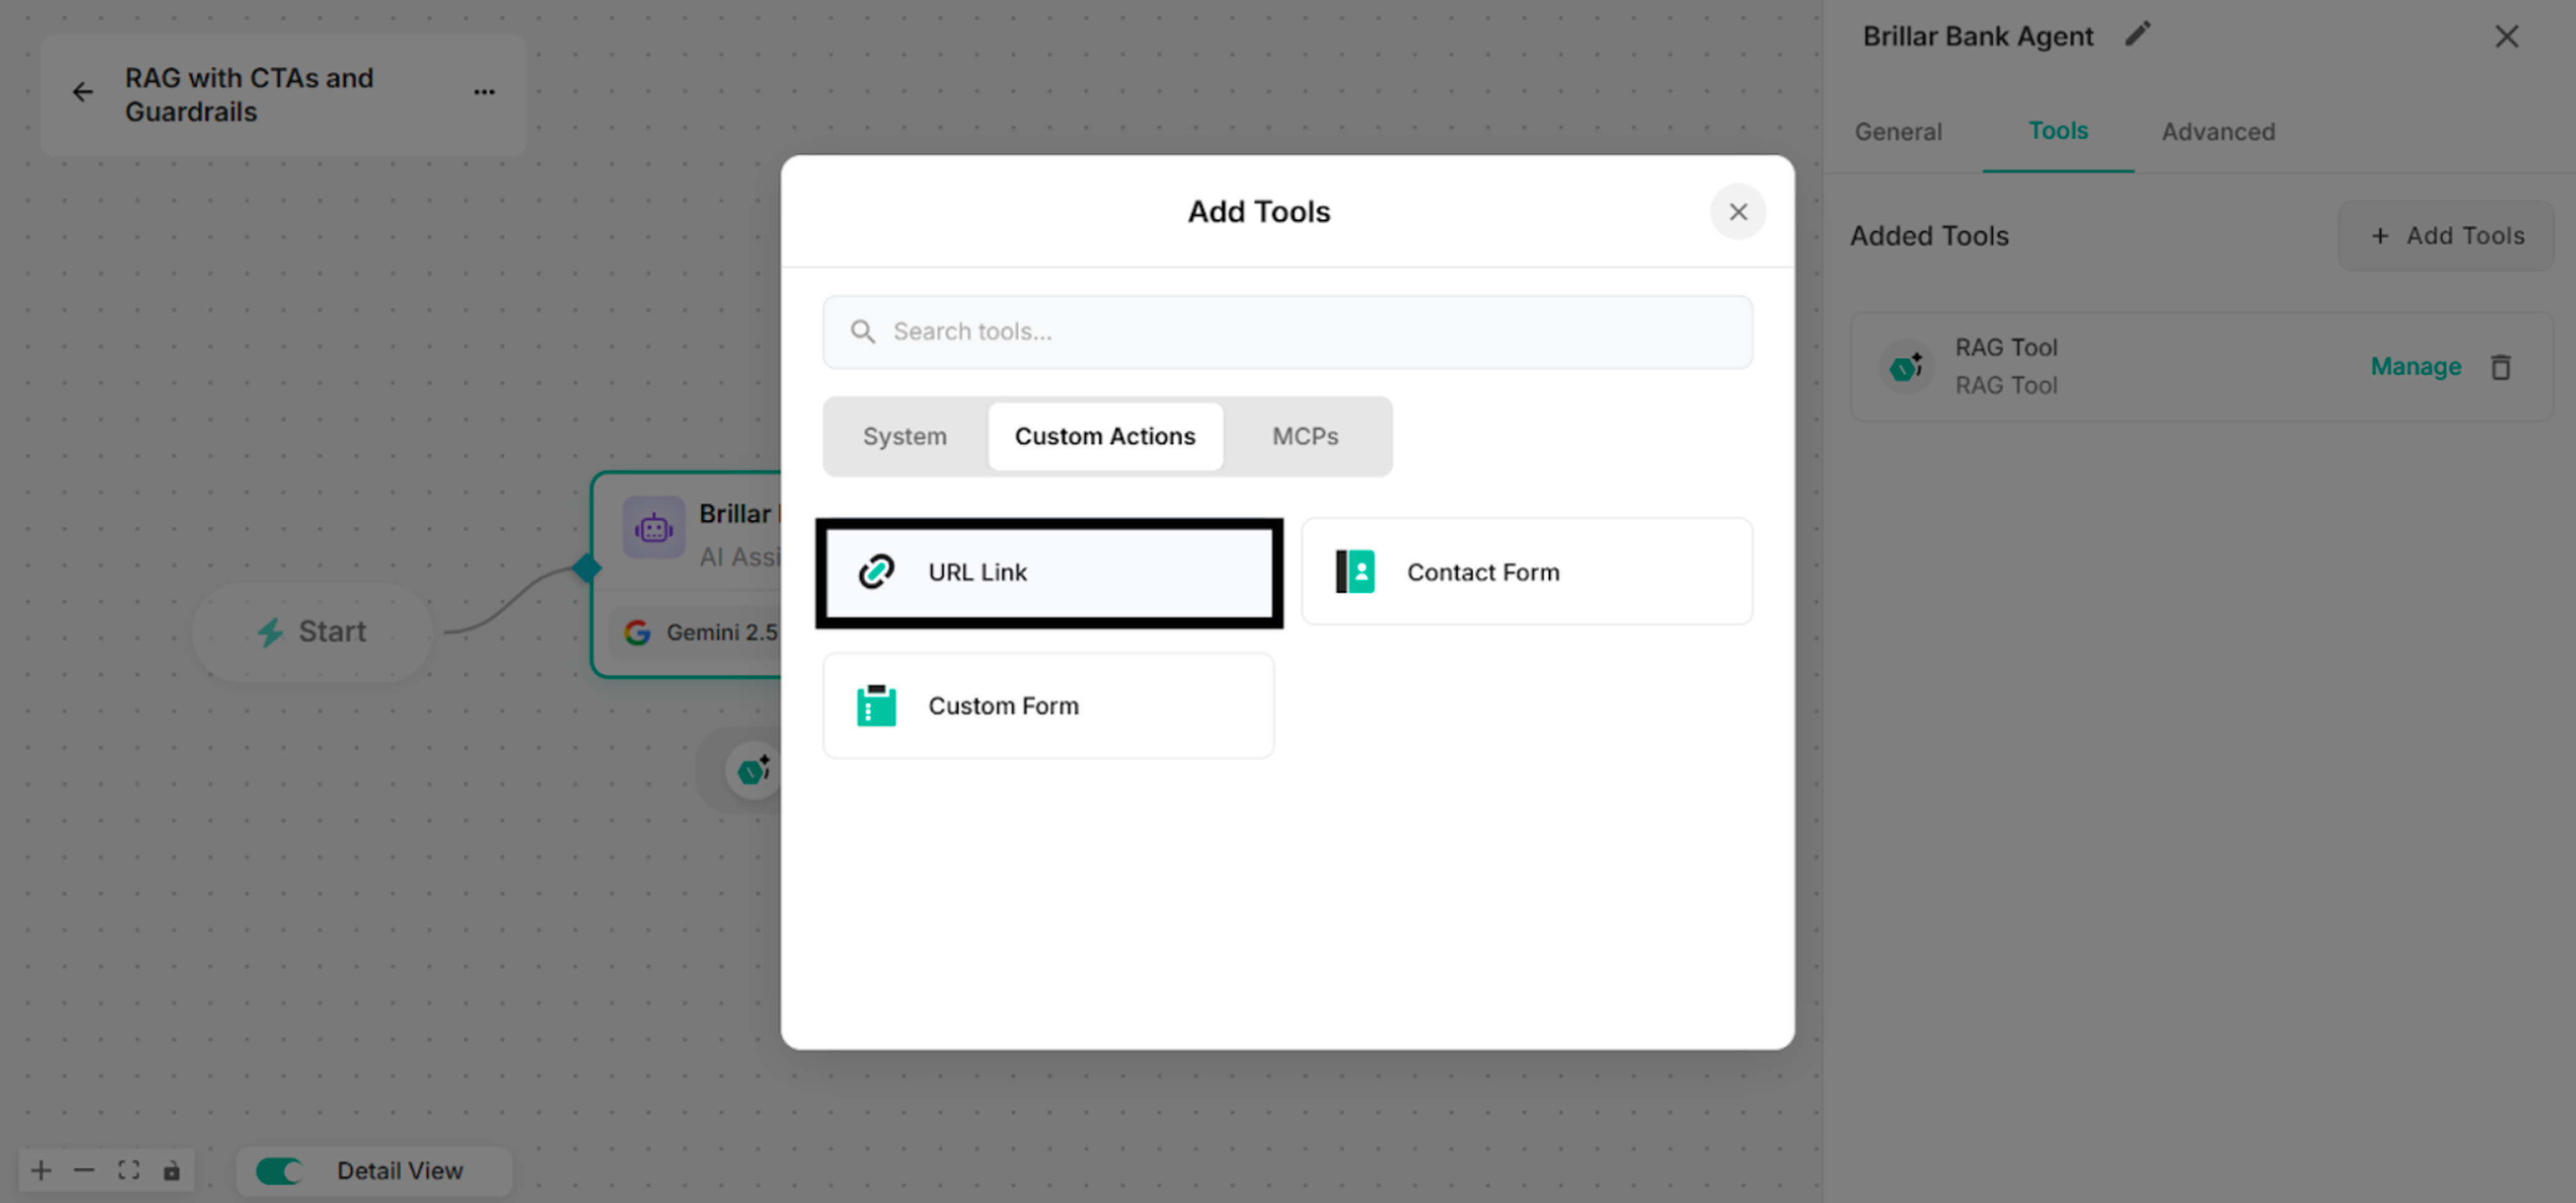
Step 6: Click "URL Link" to add for the response under Custom Actions popup box.
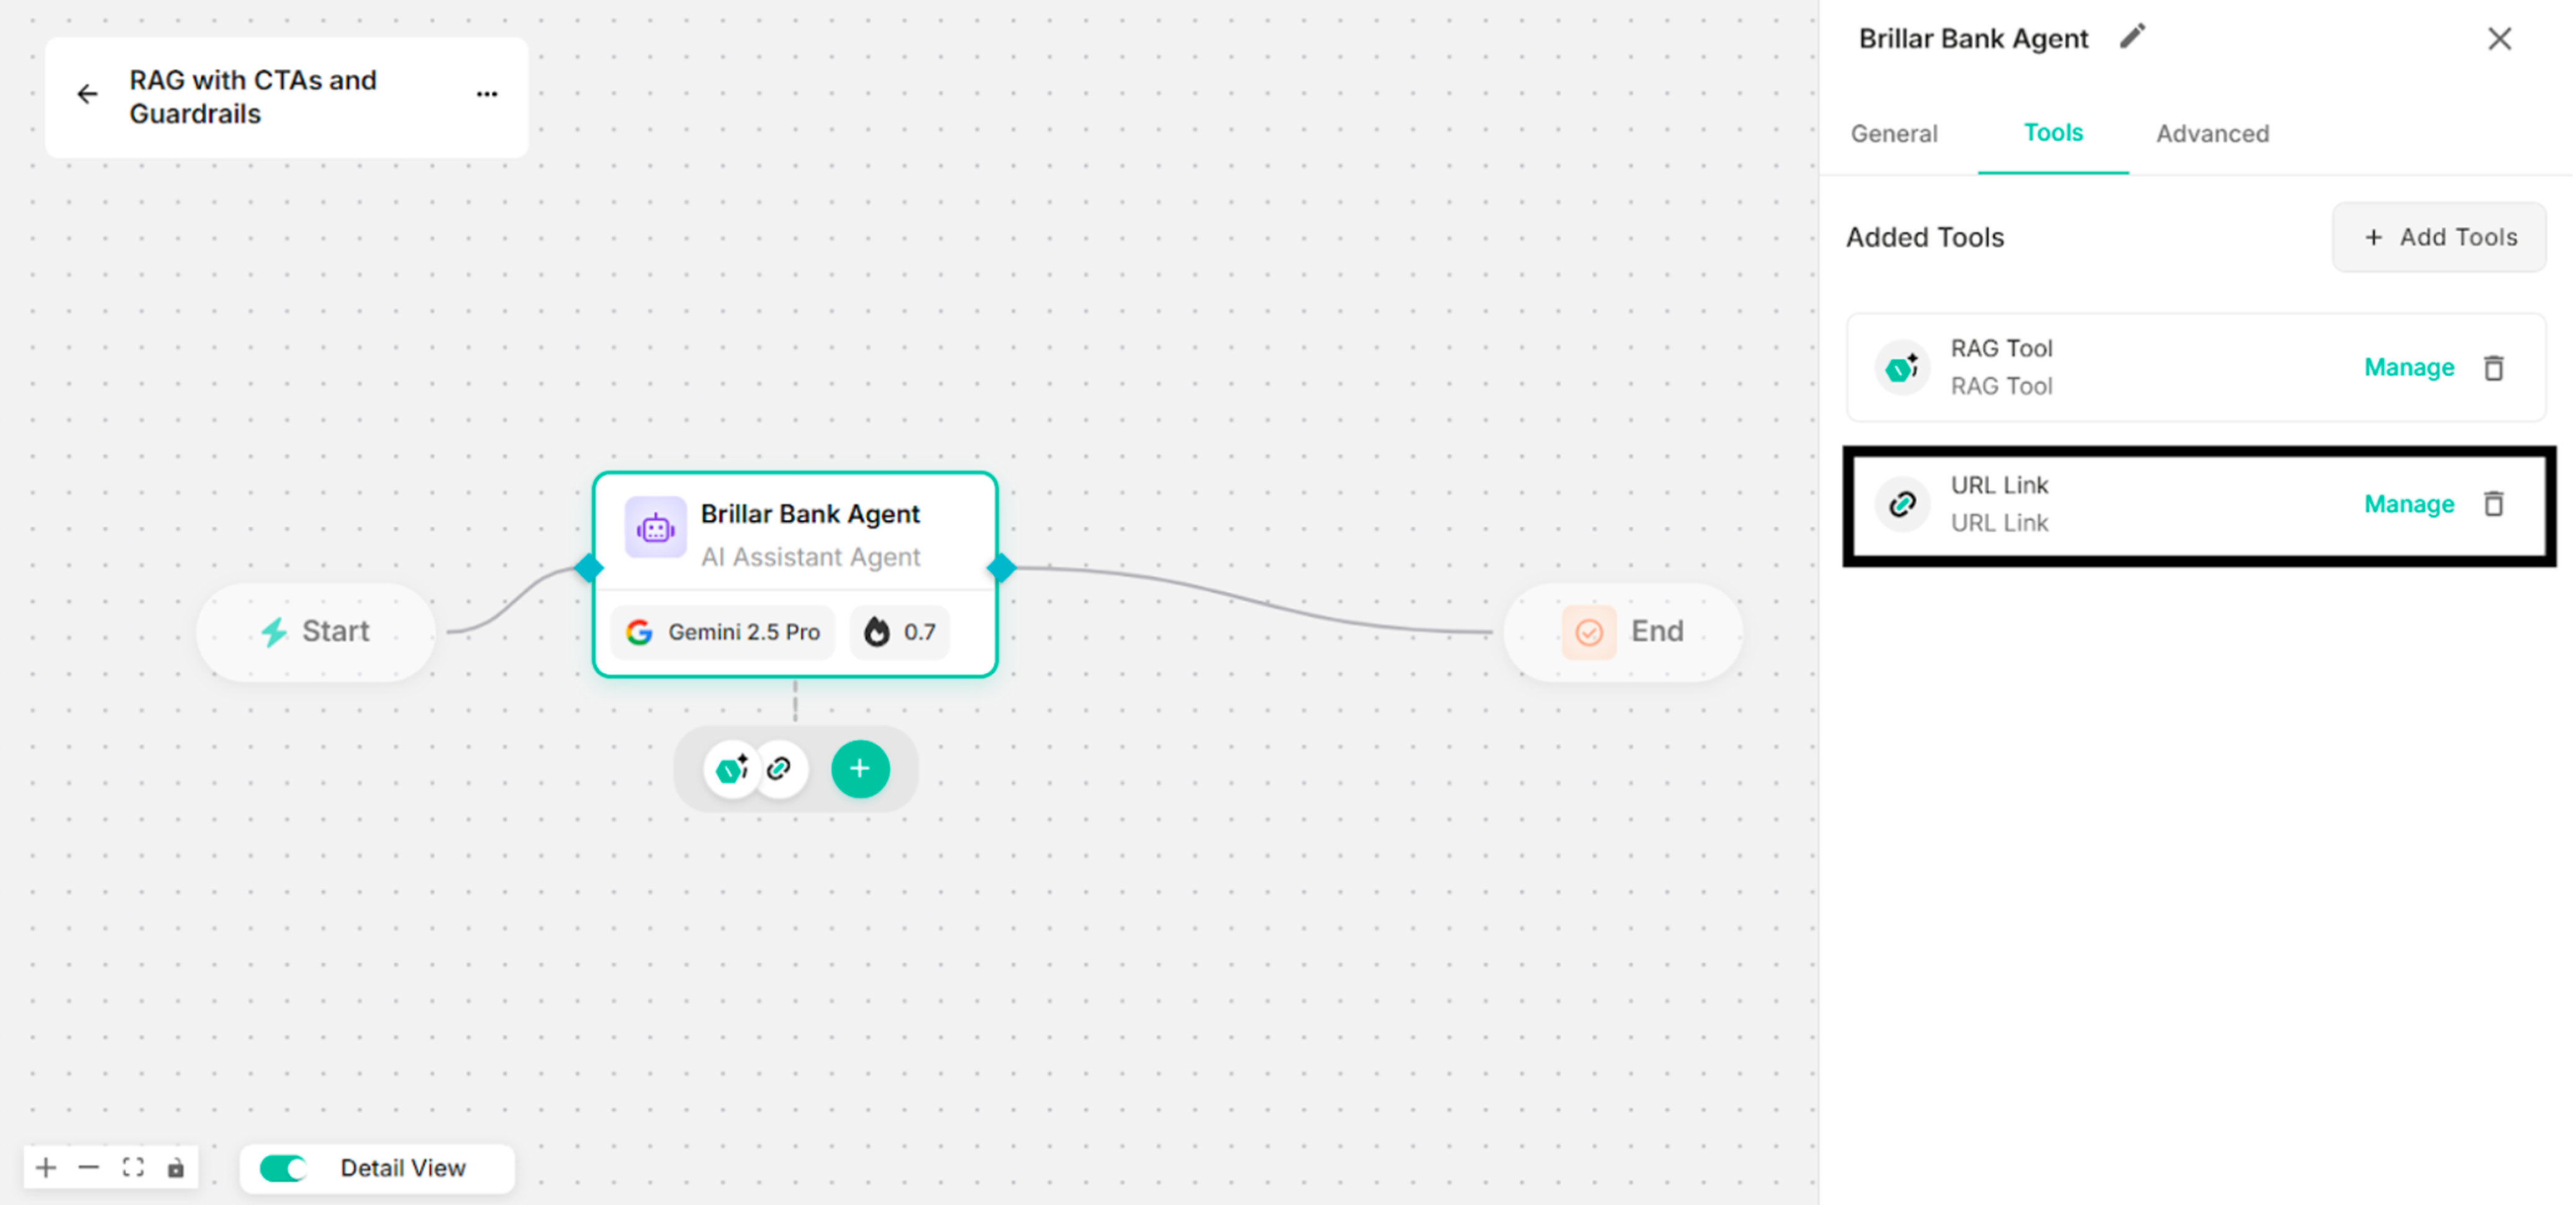
Step 7: Create URL link with step-by-step process under Setup Custom Action Interface.
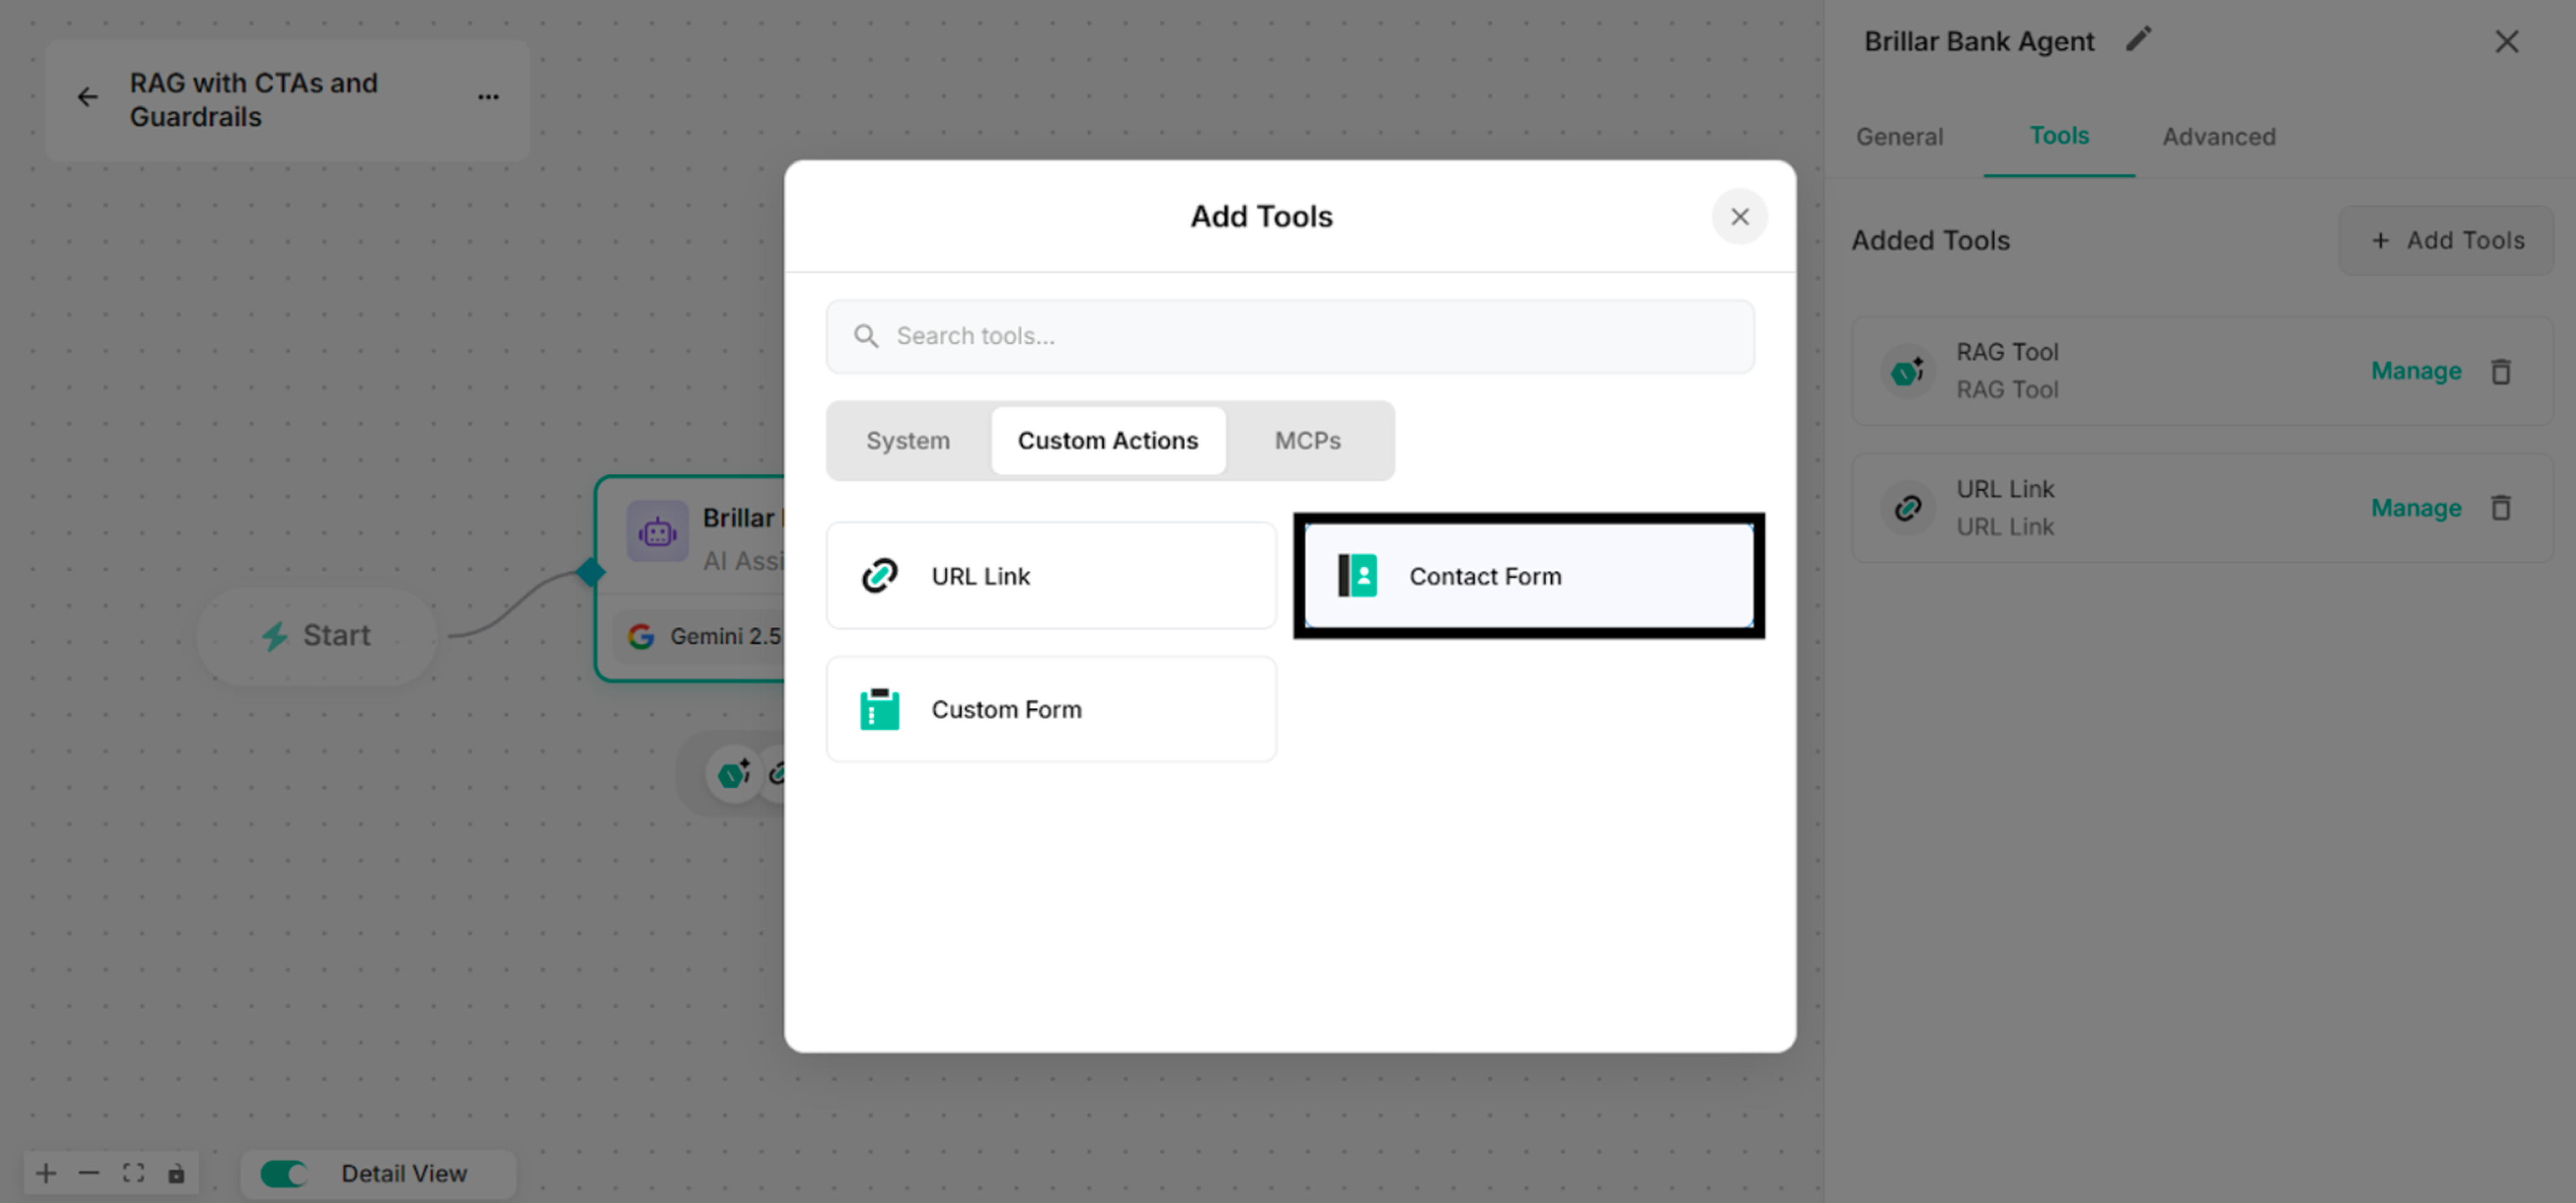
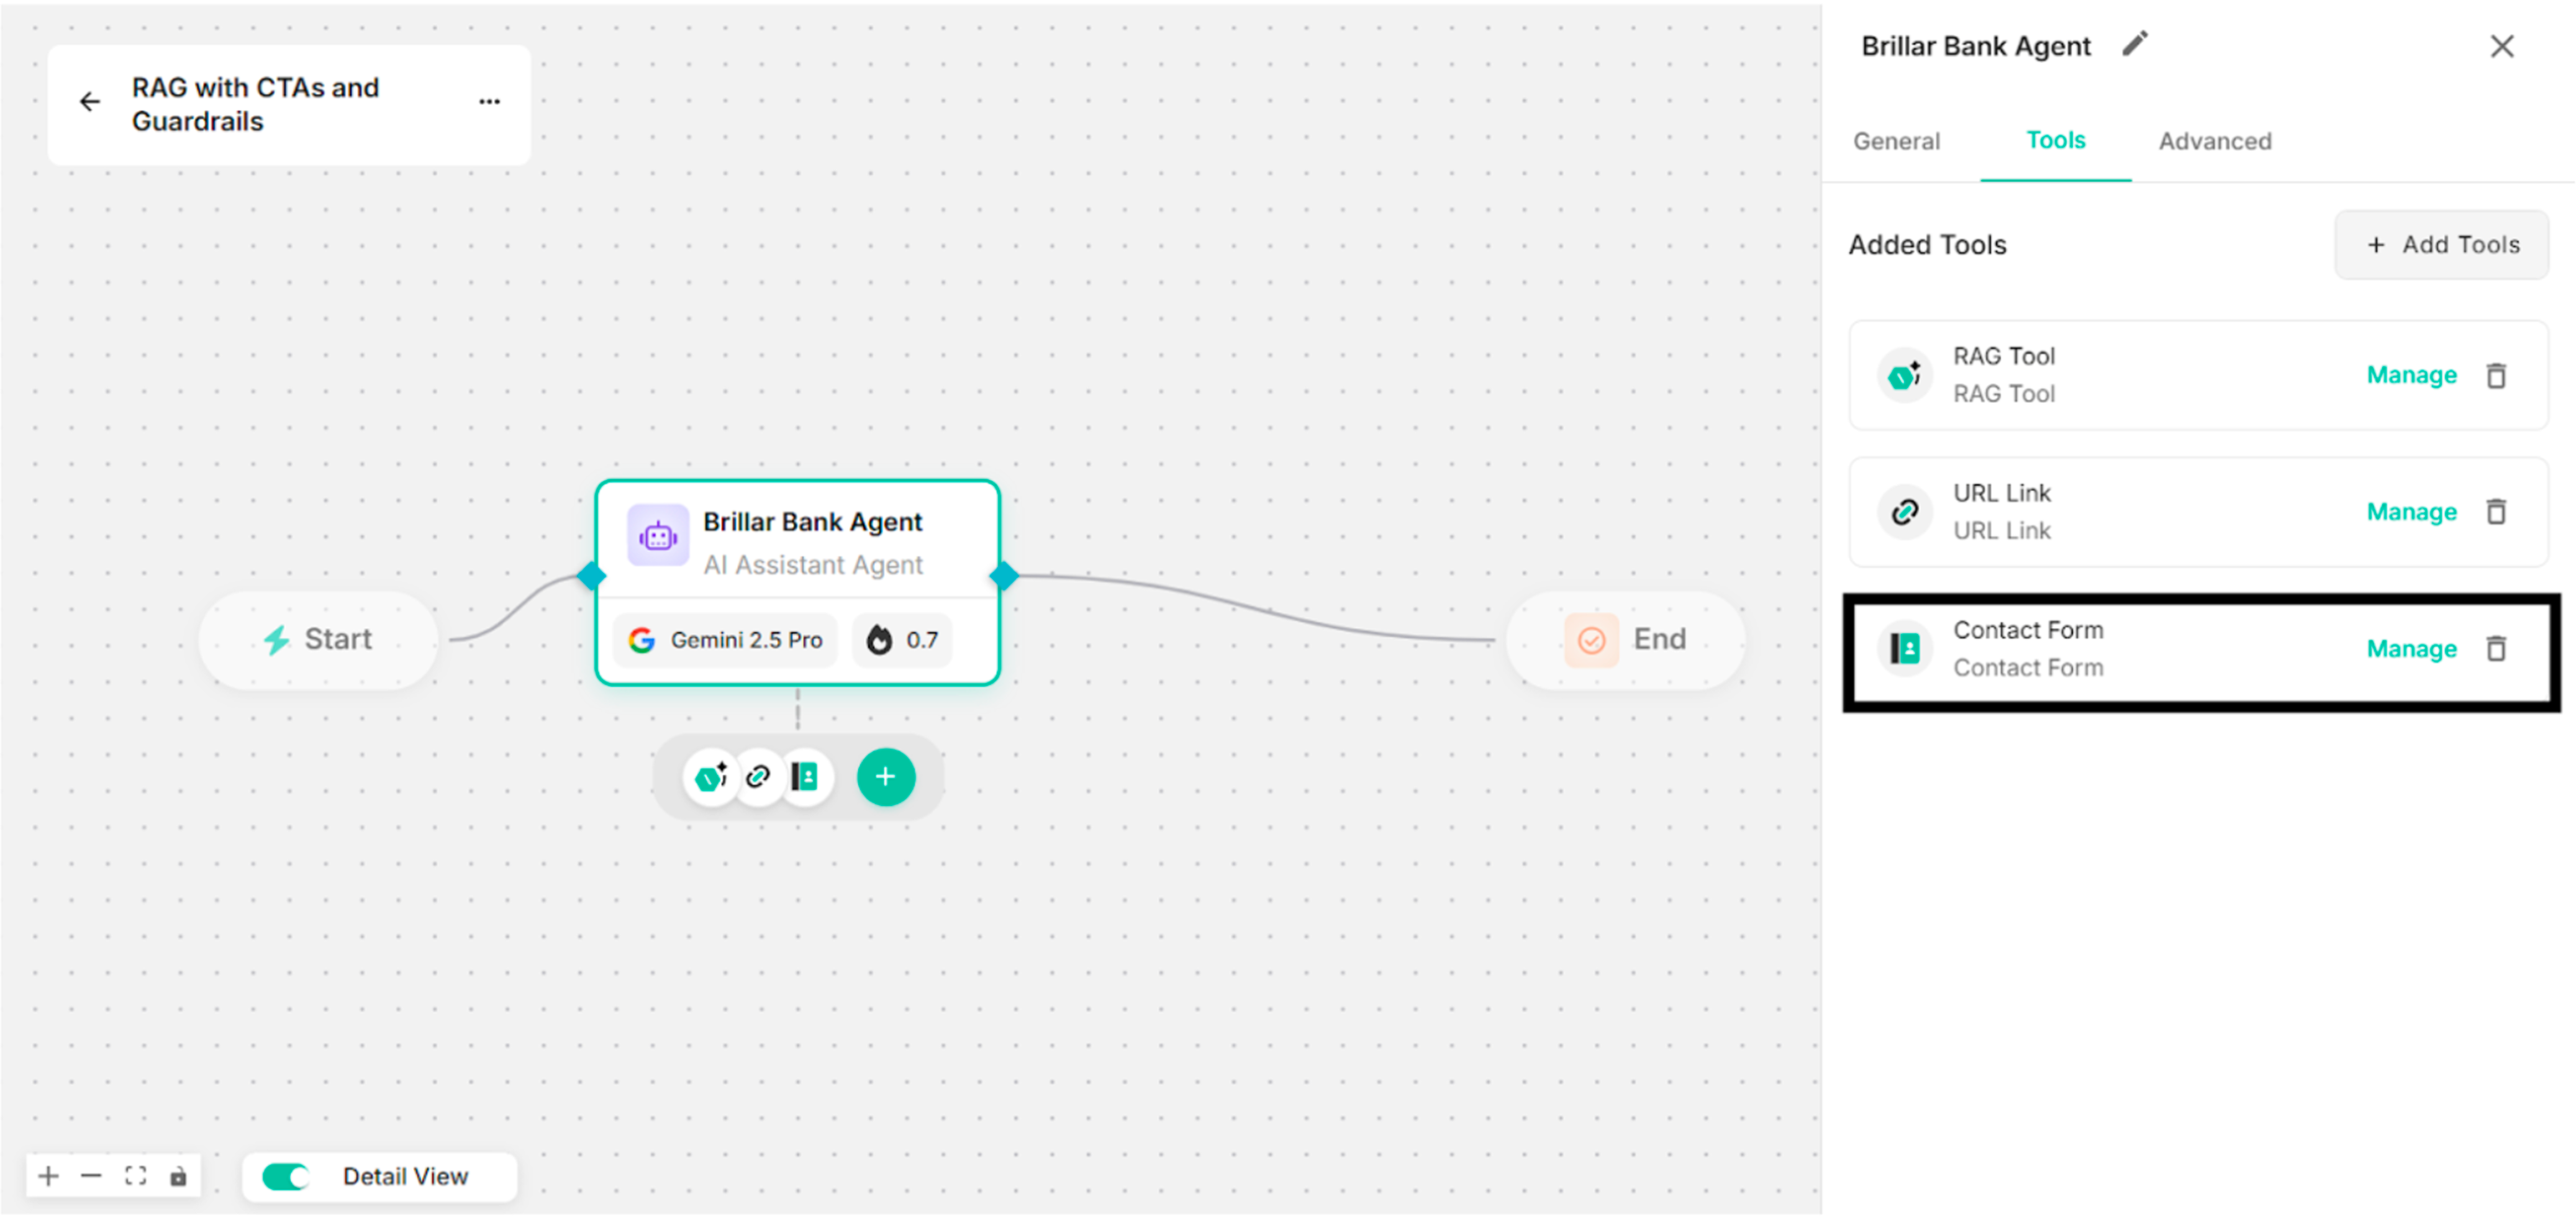
Step 8: Click "+Add Tools" and also "Custom Actions". Then, select "Contact Form" to add for the response under Custom Actions popup box. Users can choose the required Form Fields to add in the Contact Form. (API Request is optional.)
Step 9: Create Contact Form with step-by-step process under Setup Custom Action Interface. (Name and Description for Form Fields)
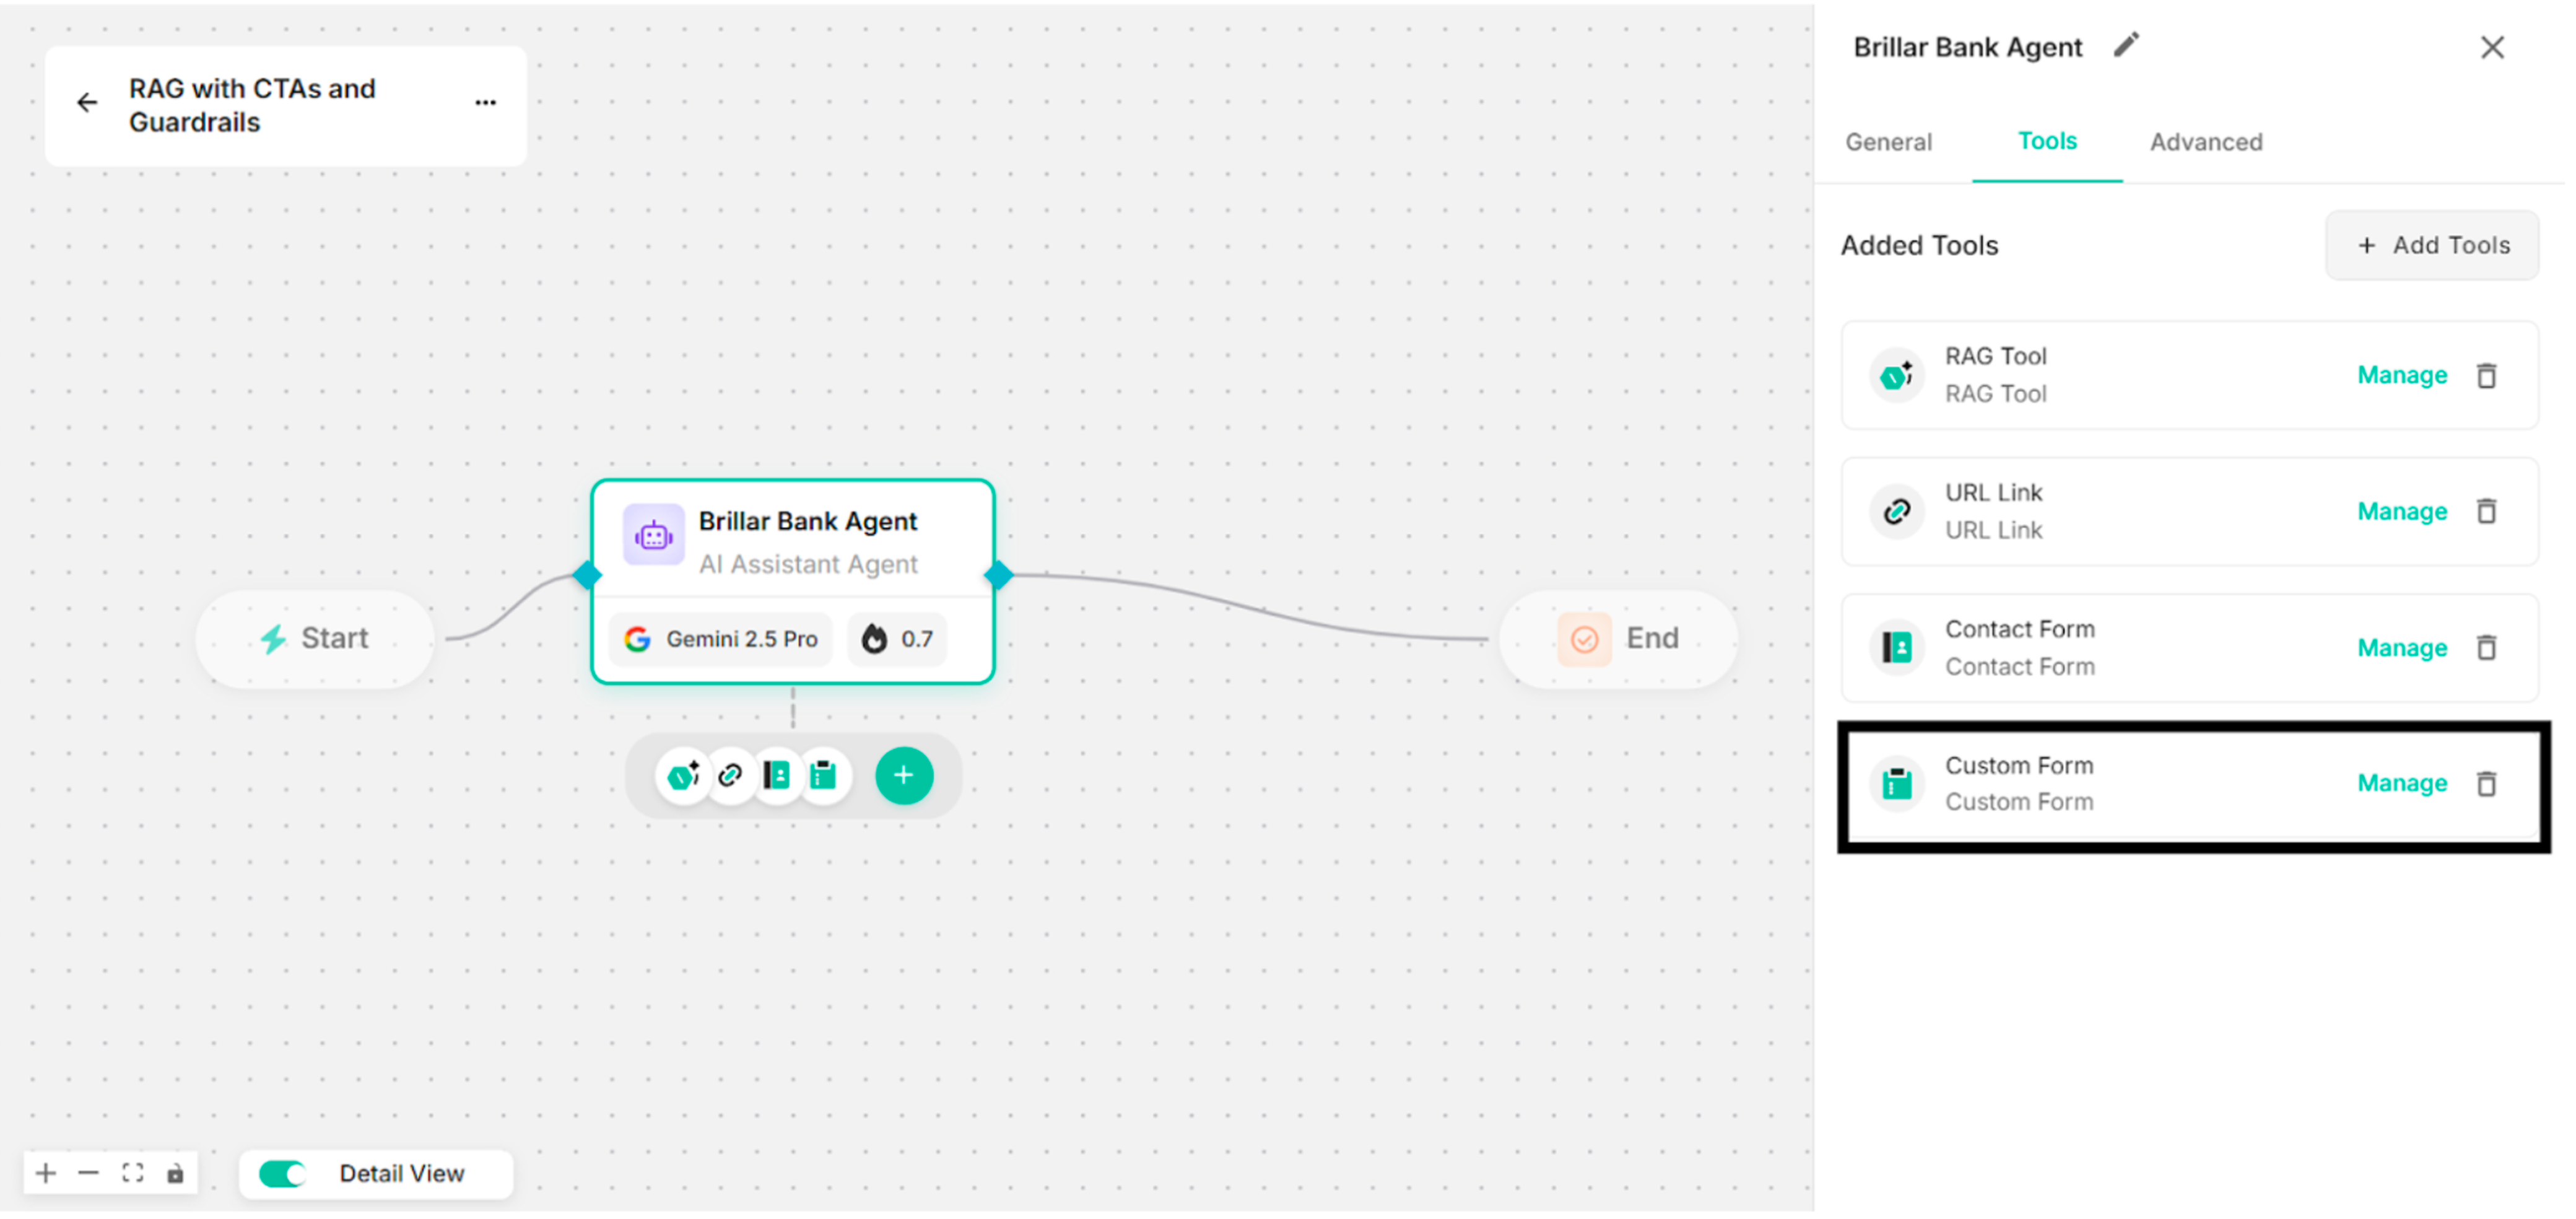
Step 10: Click "+Add Tools" and also "Custom Actions". Then, select "Custom Form" to add for the response under Custom Actions popup box. Users can choose the required Form Fields to add in the Custom Form. (API Request is optional.)
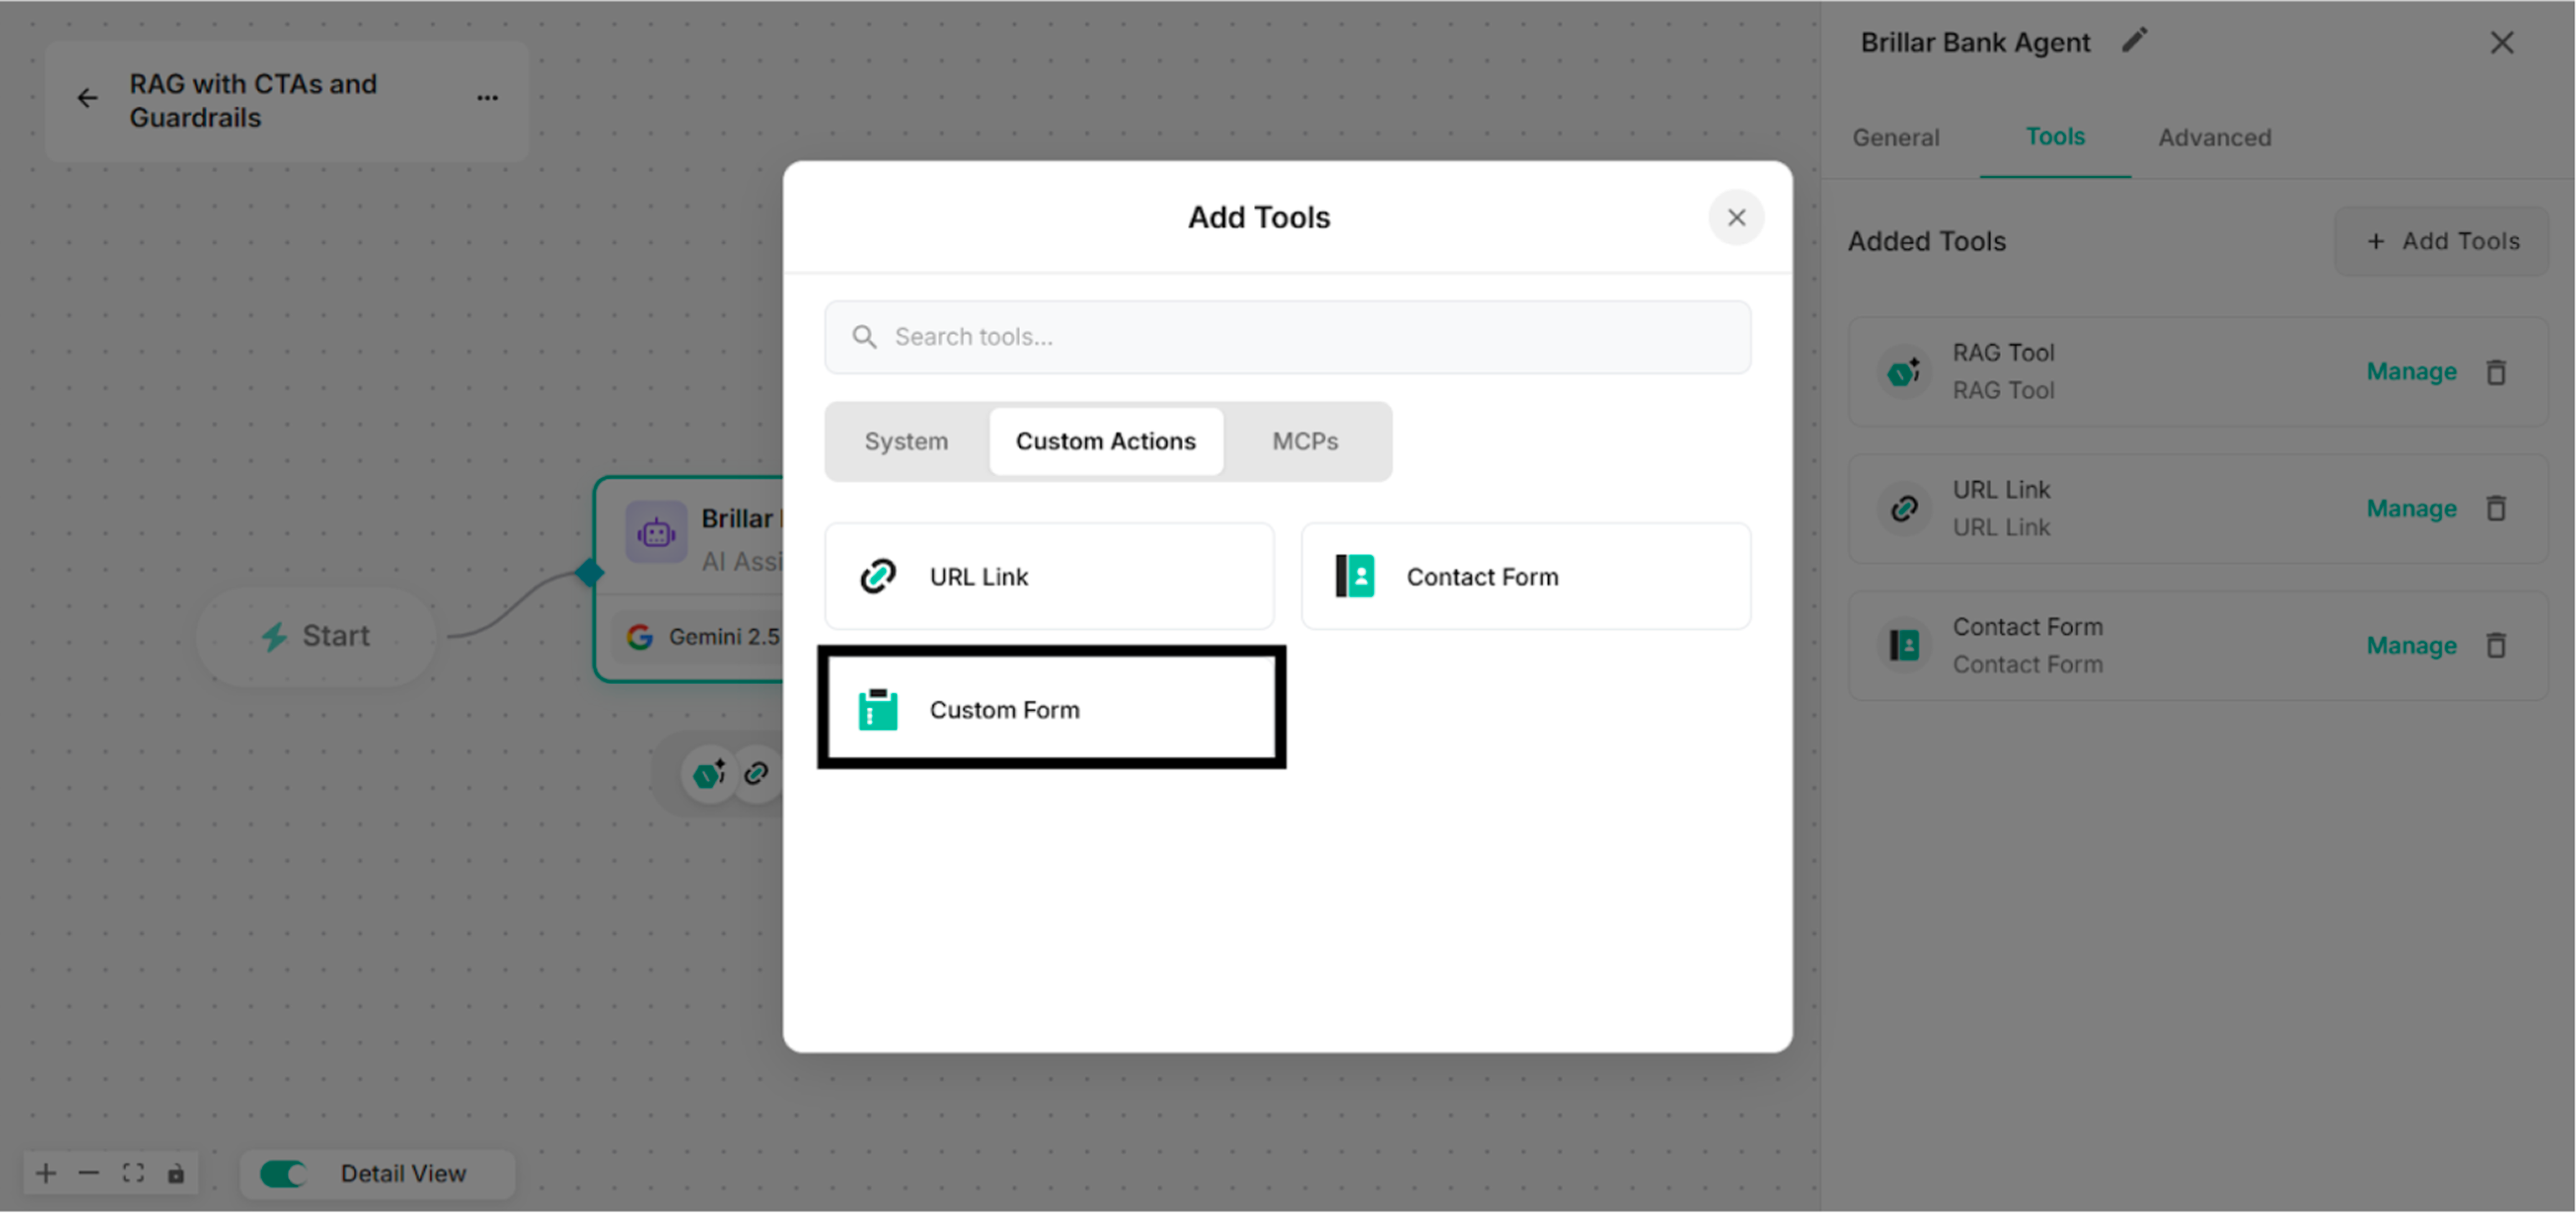
Step 11: Create Custom Form with step-by-step process under Setup Custom Action Interface. (Email and Dropdown for Form Fields)
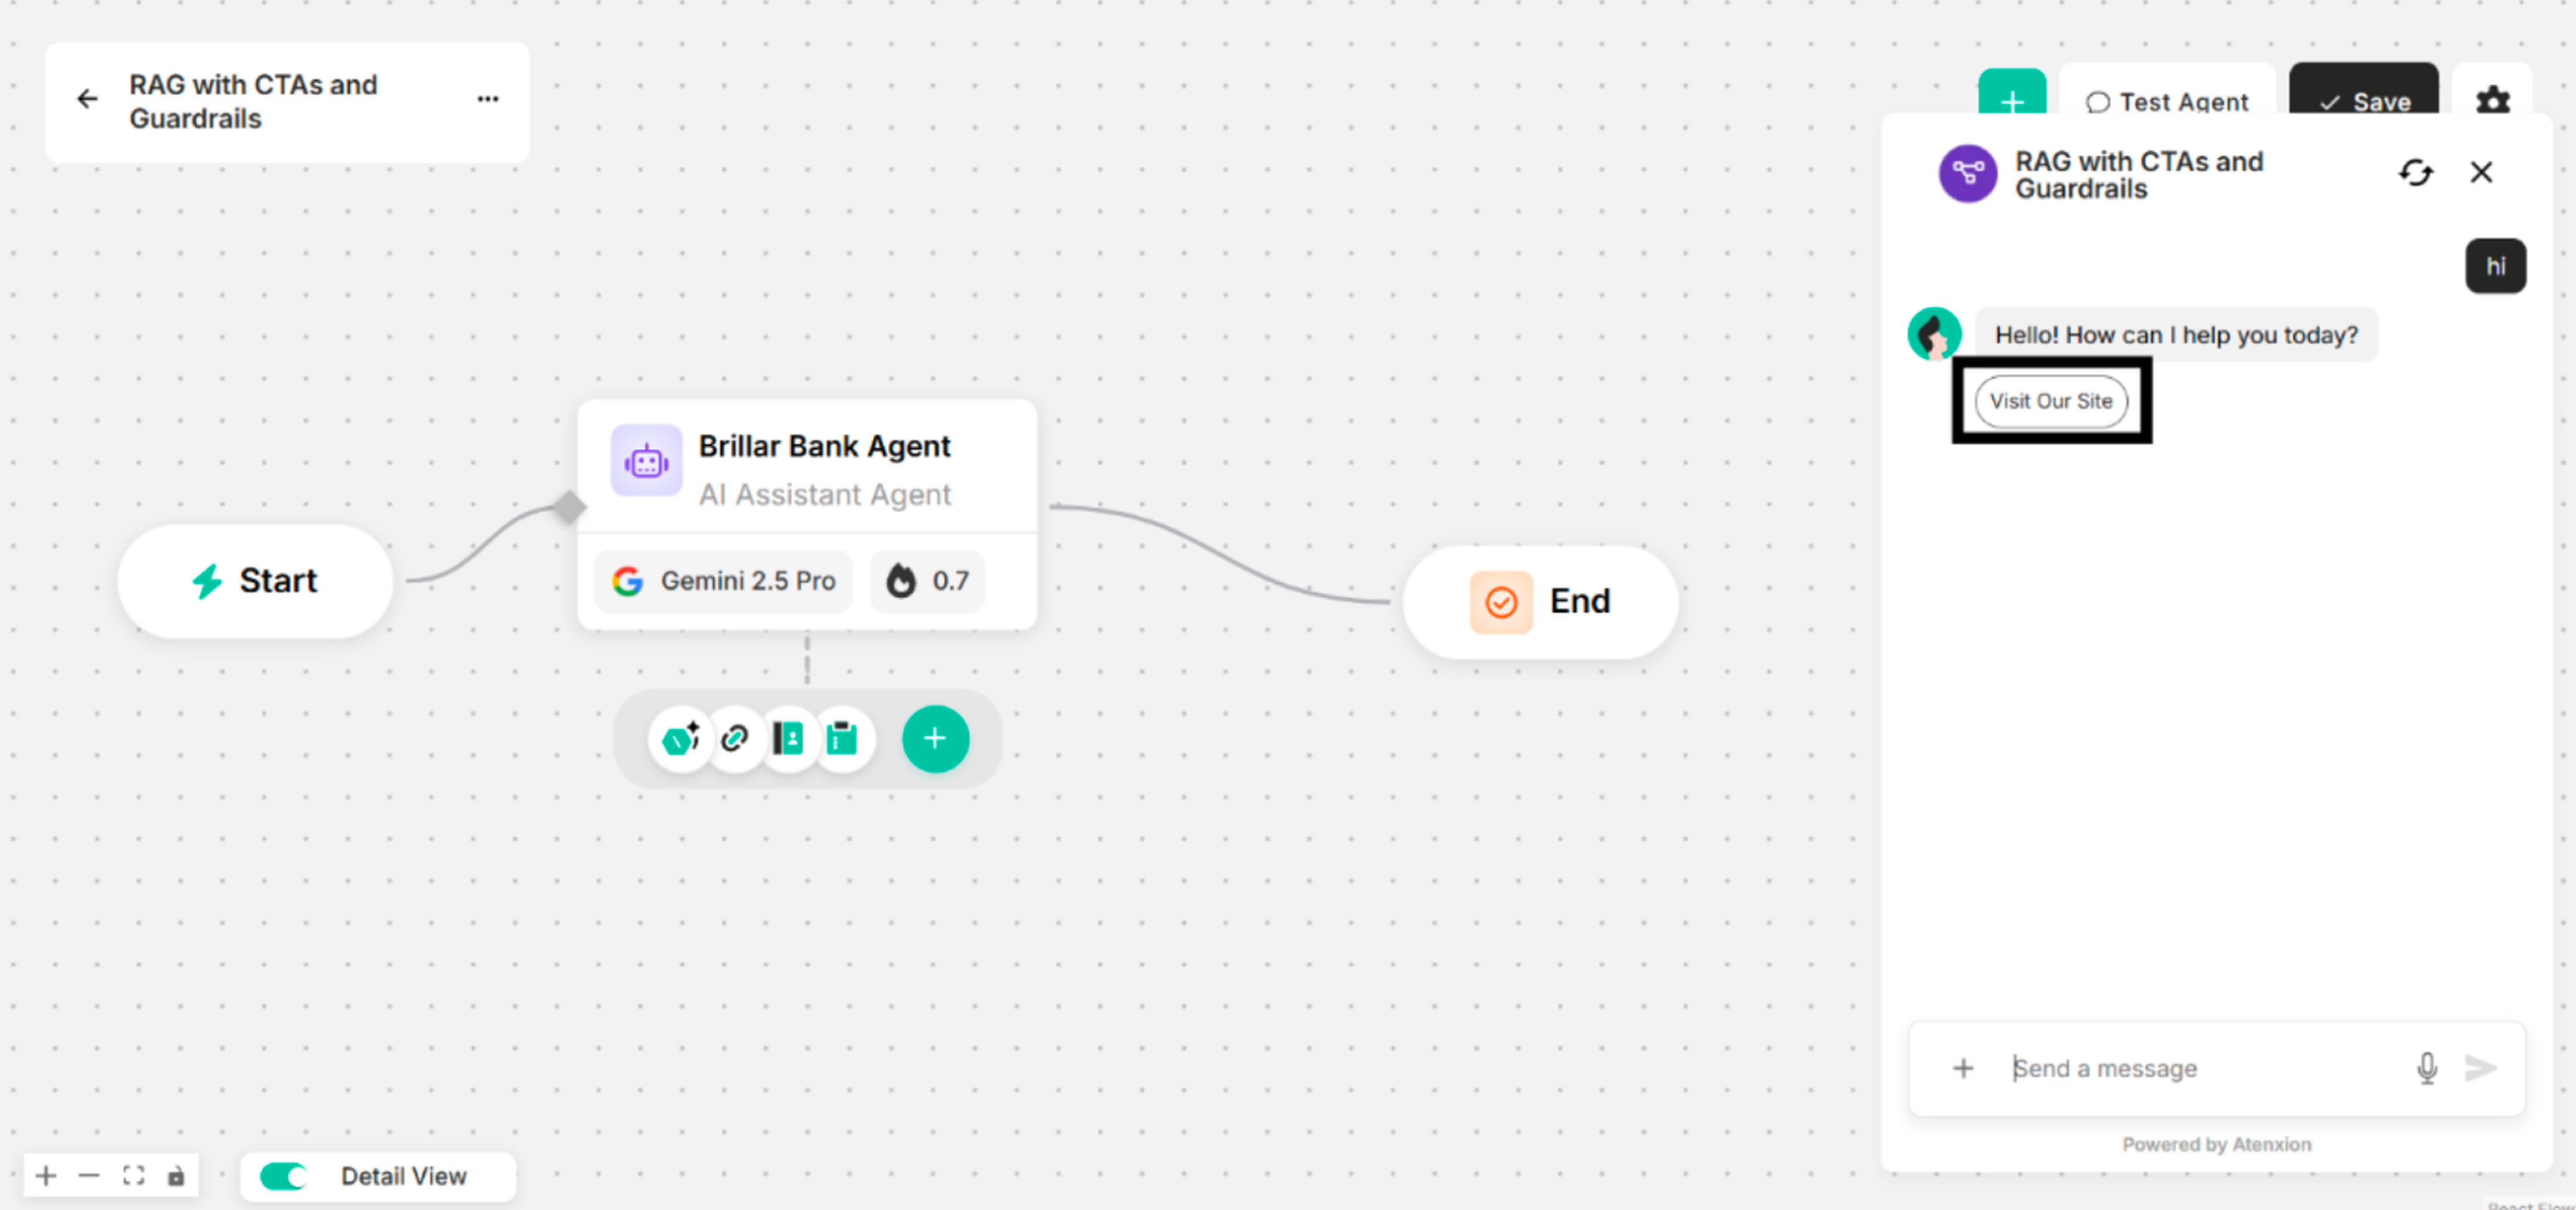
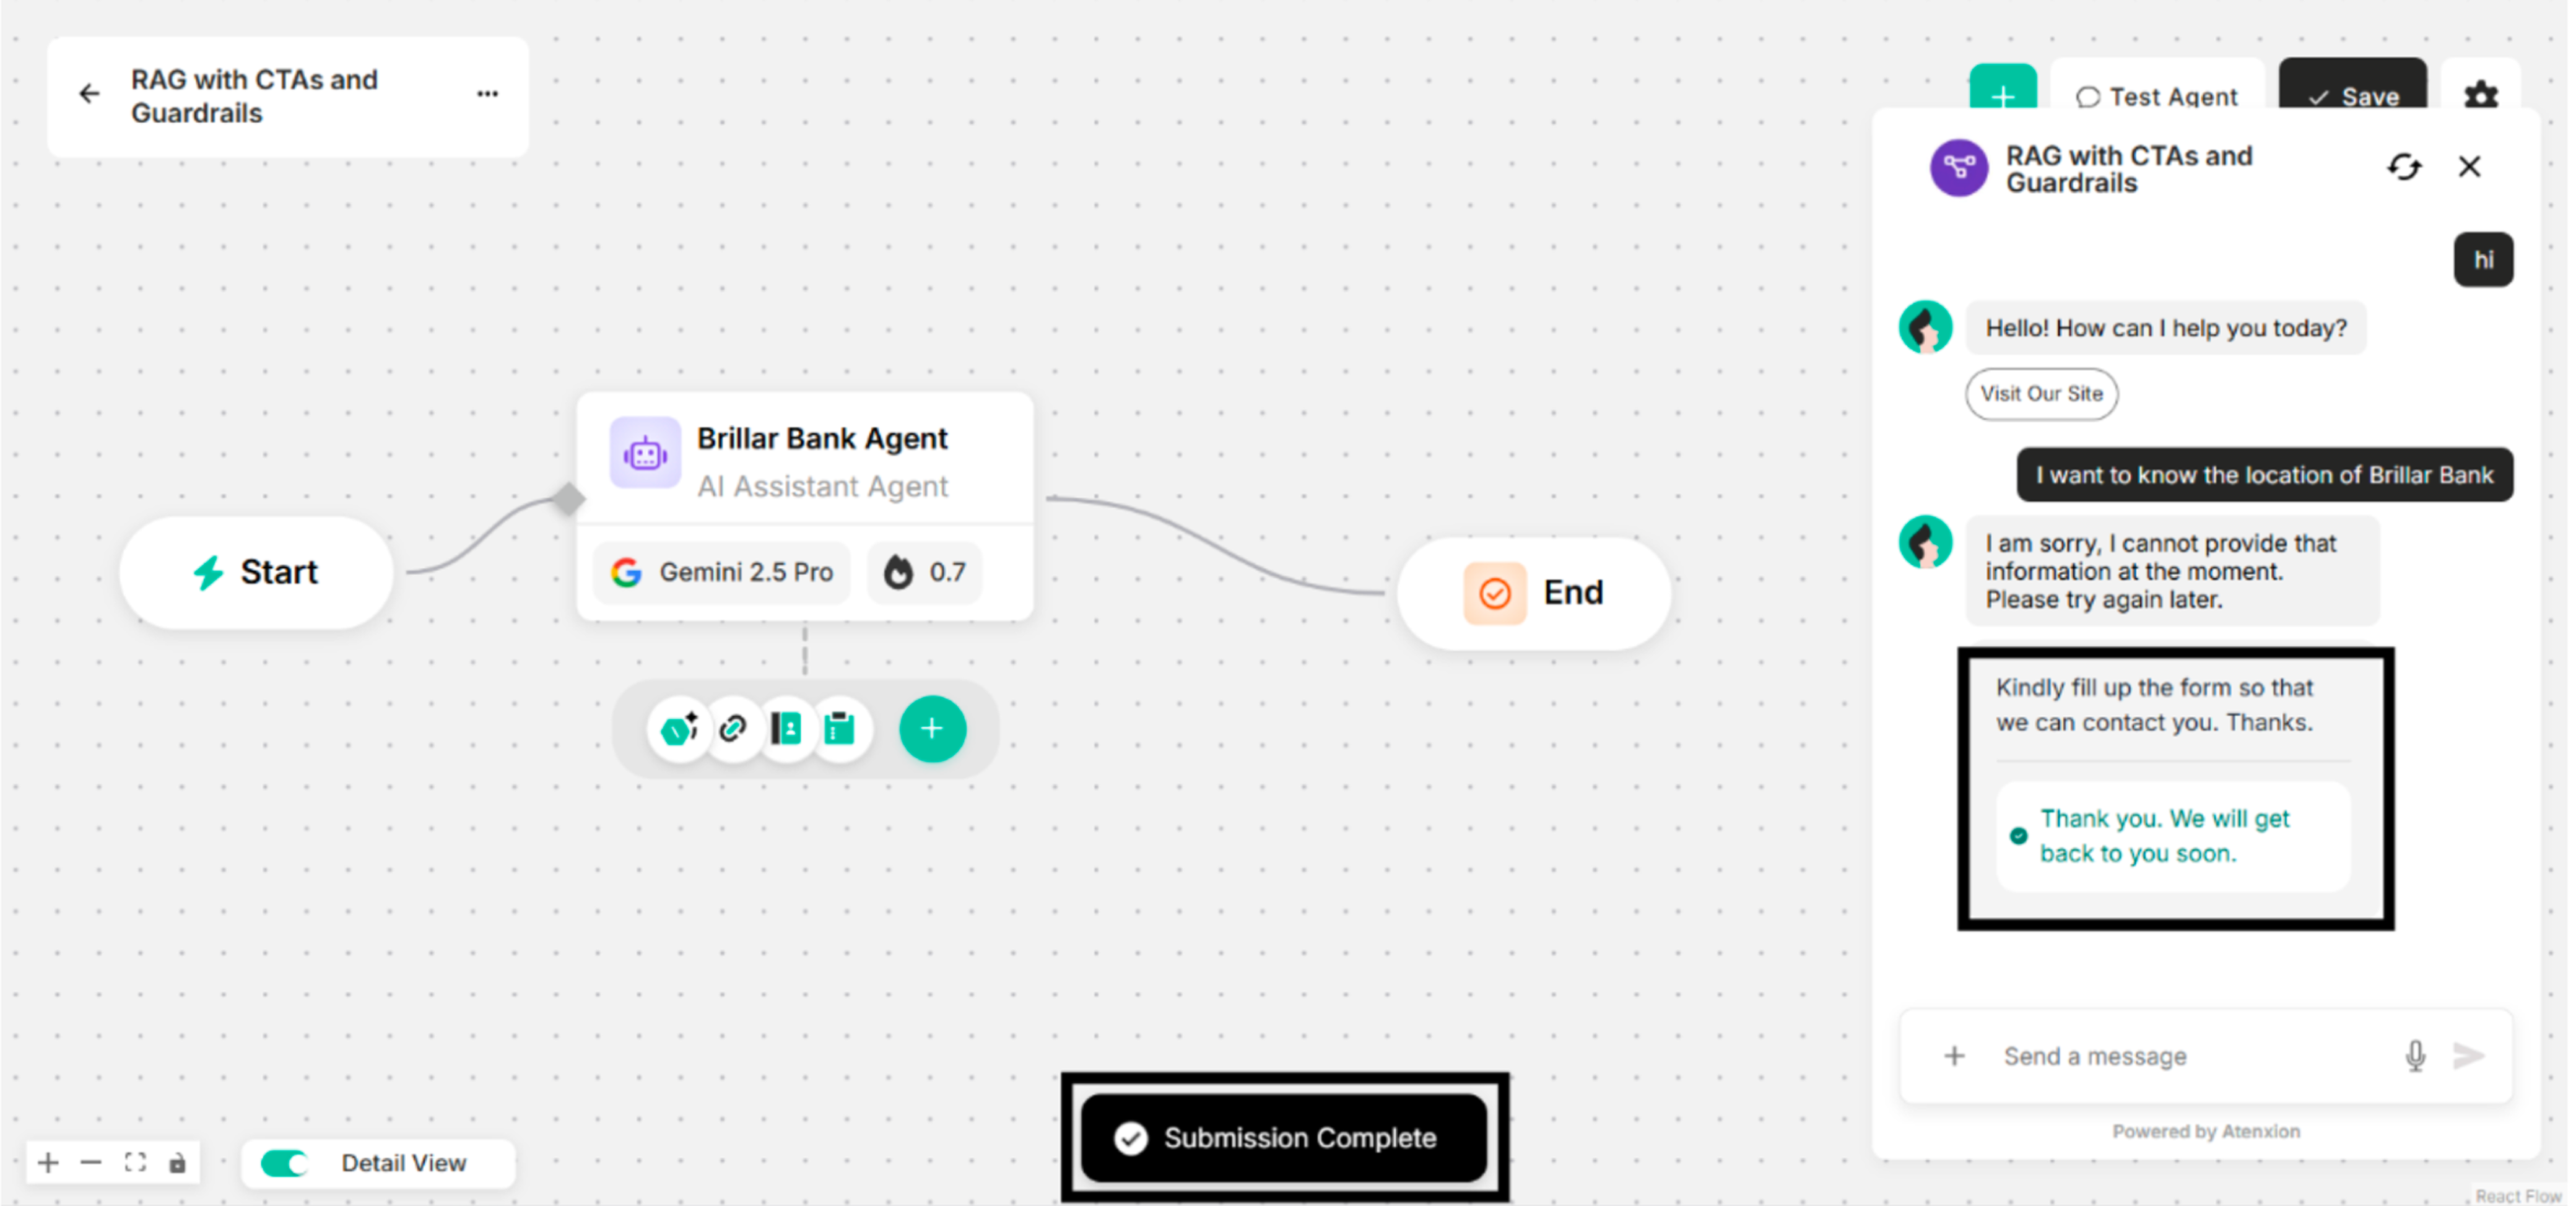
Step 12: Click Save button and ask related questions that are written in the CTA creation instruction box for URL Link, Contact Form, and Custom Form on Canvas.
_and_Button_Label_on_Canvas-08ed9113b559134011e53af02da7227a.png)
_and_Button_Label_on_Canvas-76976cb0dba84e247aec46a9541b76c3.png)
